Getting Started
On this page
This is the first part of a three-part tutorial on Algolia’s Unified InstantSearch product. At the end of this series of tutorials, you’ll have a fully featured search solution ready to go into production.
This tutorial shows you how to clone, install, and run the Unified InstantSearch application. At the end of this tutorial, you’ll have a Unified InstantSearch search interface that implements the most essential components of a search experience.
You can see Unified InstantSearch in action in the section on what the Unified InstantSearch search looks like.
This tutorial has two objectives:
- Create a codebase for your eventual go-live solution.
- Introduce you to Unified InstantSearch’s code and features.
Install and run Unified InstantSearch locally
Unified InstantSearch is an open source project. You create your own version of Unified InstantSearch on your local drive. Once installed, you have access to the full codebase. This and later tutorials suggest small adjustments to personalize and customize the solution.
This involves a two-step process: install and run the application.
Install Unified InstantSearch locally
1. Go to the GitHub repository to access the code.
2. Fork the project using the button at the top right.
3. Clone the project using the git clone command.
4. Add the original upstream repository to facilitate updates between your project and the original forked project:
1
git remote add upstream https://github.com/algolia/ecomm-unified.git
5. Install dependencies using either yarn or npm.
1
yarn install
or
1
npm install
If you have any problems with these installation steps, check out the getting started guide in GitHub .
Once installed, you have a full React InstantSearch project.
Even though Unified InstantSearch uses React InstantSearch, developed in Preact, you don’t need to include React in your website. Unified InstantSearch is self-contained, and the generated files you import into your website contain everything you need. Unified InstantSearch works on any website, even if it uses other UI libraries such as Vue or Angular, or no UI library at all.
Run Unified InstantSearch locally
If you havn’t already done so, install dependencies:
1
yarn install
Then, run the project:
1
yarn start
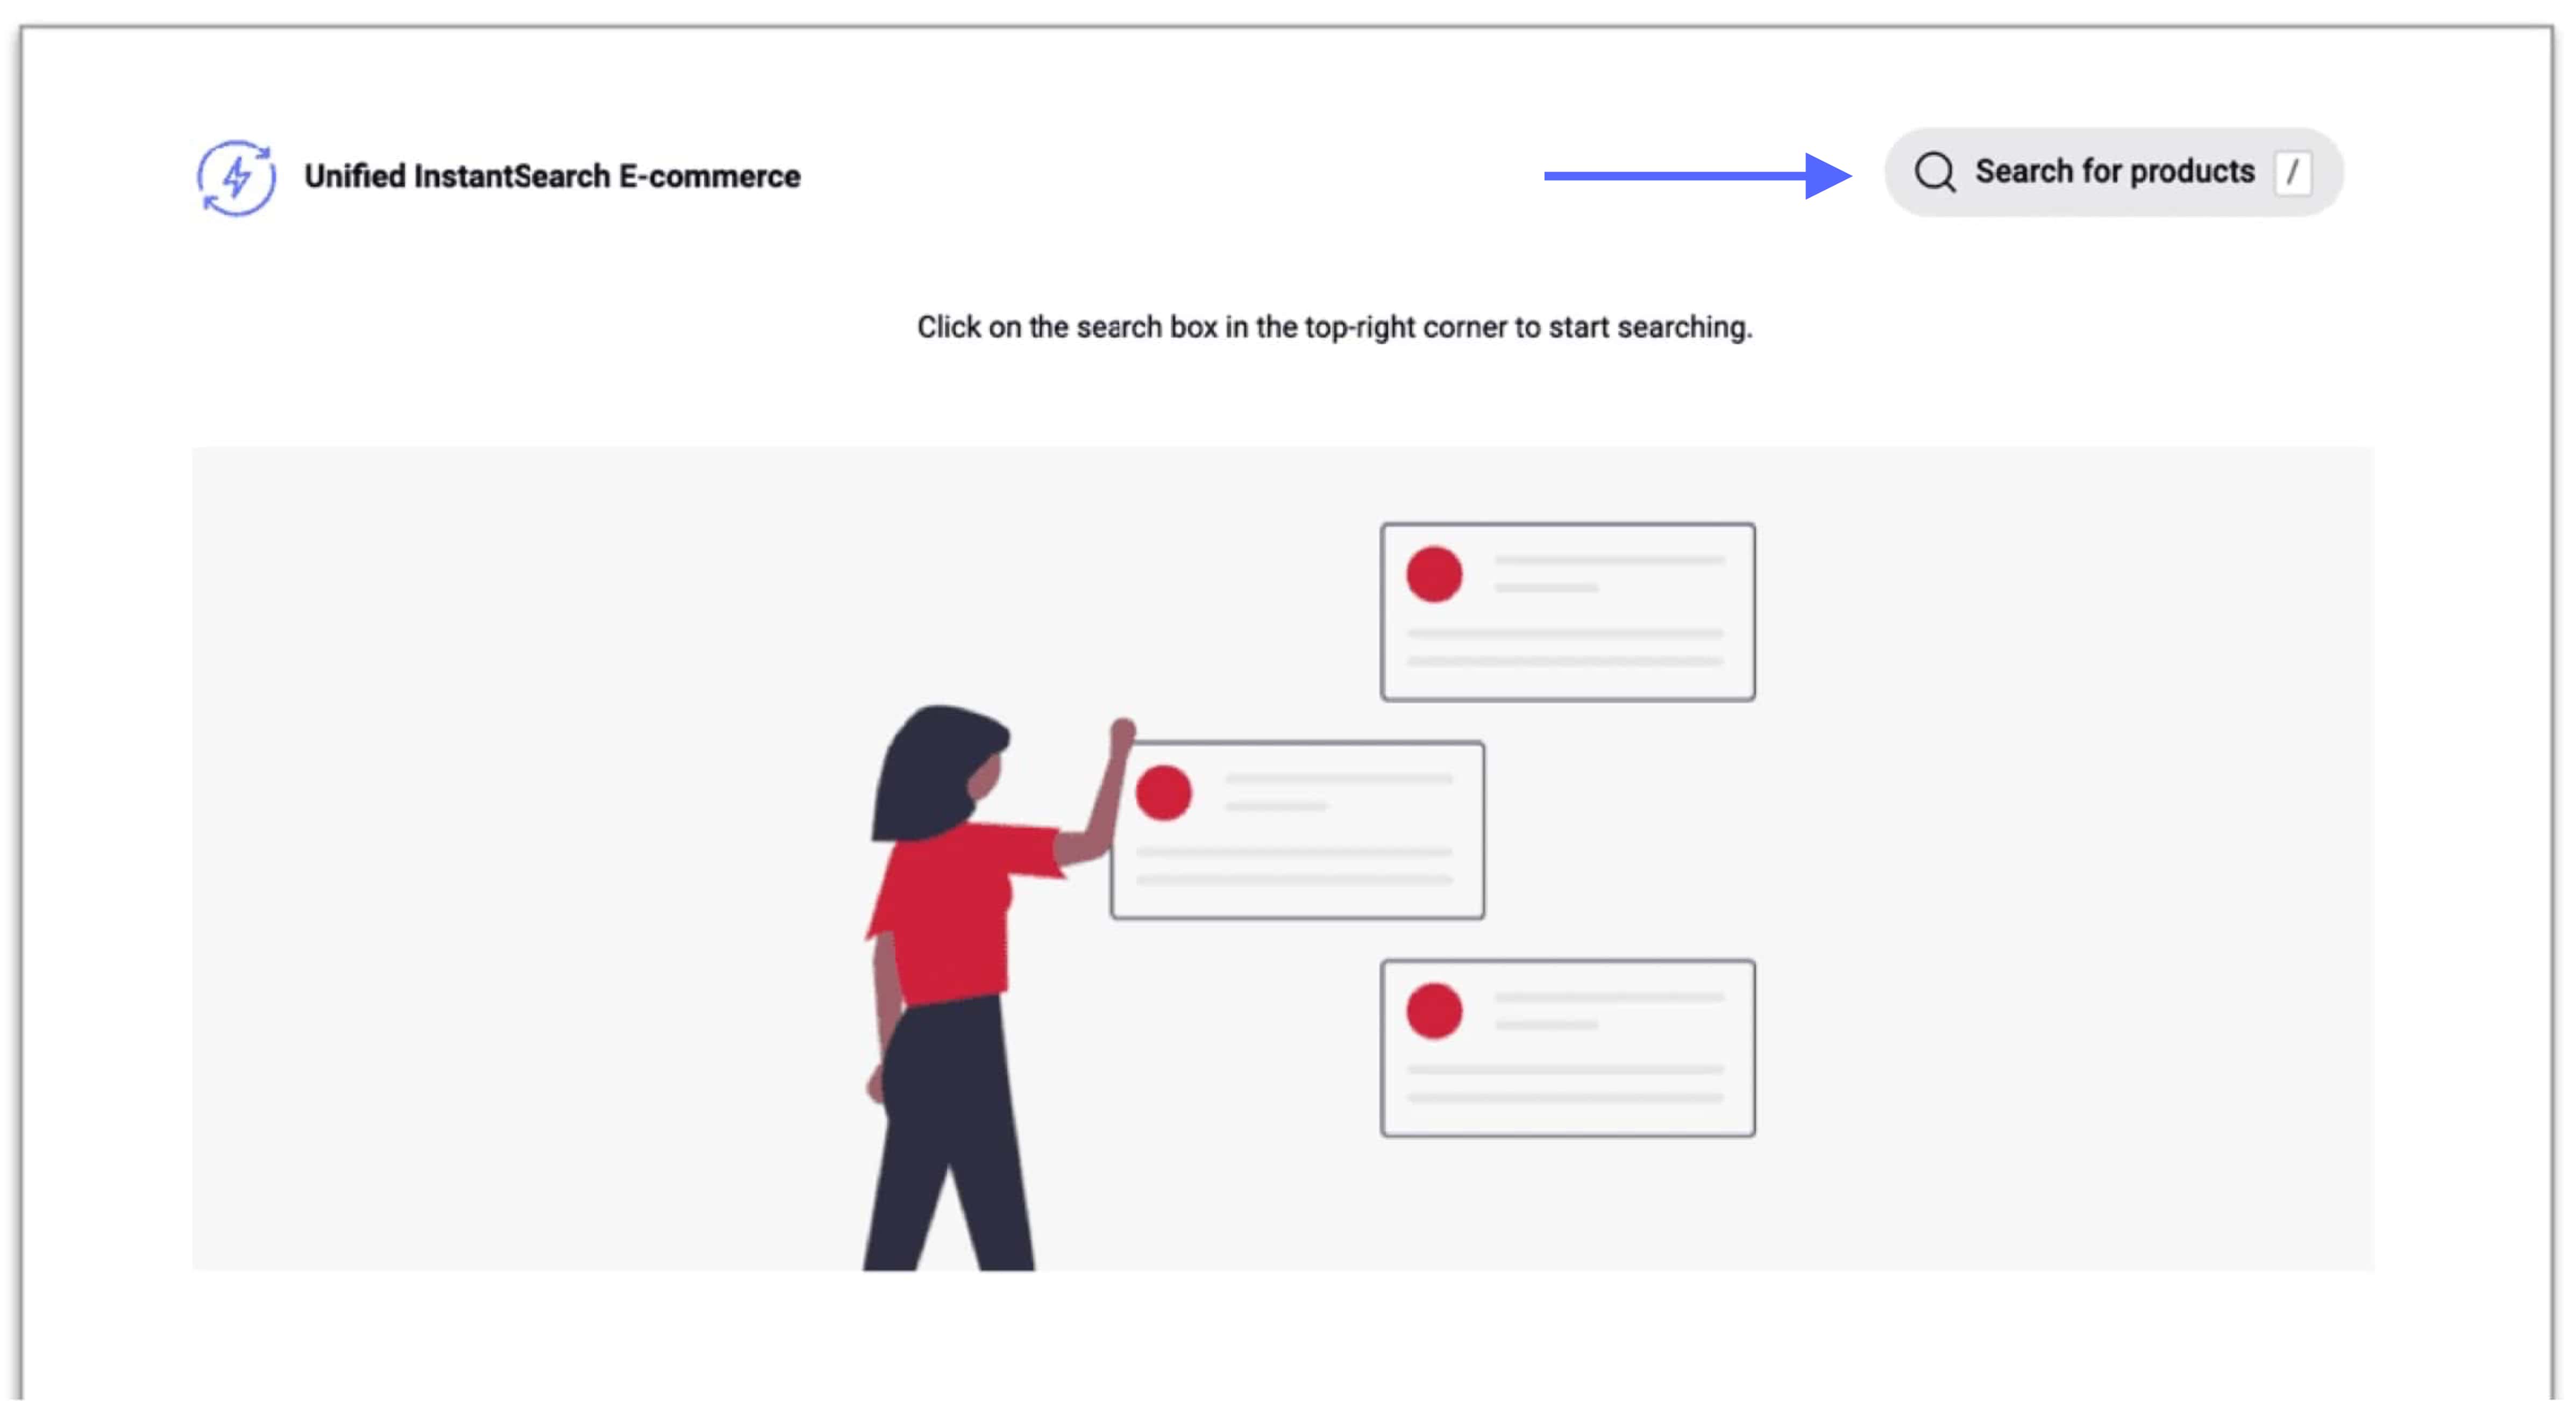
Next, open the app on http://0.0.0.0:3000/. You should see a website with a search bar on the right top:
Customize the placeholder on the website
You can change the search bar placeholder (for example, “Search for products”) in src/config/settings.js:
1
export const inputContent = 'Search for products';
Add or remove the keyboard shortcut
You can also change or remove the keyboard shortcut that puts the focus in the search bar automatically.
To add the shortcut:
1
export const keyboardShortcuts = ['+'];
To remove the shortcut, delete the contents within the []:
1
export const keyboardShortcuts = [];
You can define more than one shortcut key, though they will all do the same thing.
1
export const keyboardShortcuts = ['/','+'];
What the Unified InstantSearch search experience looks like
Now you’re ready to click on the search bar indicated by the blue arrow in the image. You should see a window (described in the next section) with a fully functional search screen, including a search bar, results, facets, and many other features essential for a good search experience.

- (1) A search bar
- (2) Query Suggestions
- (3) Refinements
- (4) Number of records found
- (5) Sorting
- (6) Display type
- (7) Results updated at every keystrokes
- (8) Add to Cart
- (9) Pagination
Not Visible:
- Highlighting and snippeting
- Search and Click Analytics
- No results page
- Personalization
- Merchandising
For more information, check out the full explanation of each Unified InstantSearch feature.
Adjust CSS for branding
Unified InstantSearch comes with its own colors and fonts. For this demo, you can leave the defaults or change them in src/config/settings.js.
1
2
3
4
5
6
7
8
9
10
11
12
13
14
15
16
export const styles = {
  colors: {
    primary: '#d02139',
    secondary: '#21243d',
  },
  text: {
    fontFamily: `-apple-system, blinkmacsystemfont, 'Segoe UI', roboto, oxygen,
ubuntu, cantarell, 'Open Sans', 'Helvetica Neue', sans-serif`,
  },
  breakpoints: {
    sm: 640,
    md: 768,
    lg: 1024,
  },
  baseZIndex: 100,
};
Integrate Unified InstantSearch into your website
The final step is to integrate this demo into your website. Even though it doesn’t use your data, you can still embed it.
Integrating Unified InstantSearch consists of only two steps: declaring the container and exporting the project.
Declare the container for Unified InstantSearch to use
Change the inputContainer variable in src/settings.js to match the selector for your search input. This is all you need to do to embed the full Unified InstantSearch search UI into your website.
For example:
1
export const inputContainer = '#search-button';
Export the Unified InstantSearch project
Next, you need to export Unified InstantSearch into a JavaScript format that you can include in your website.
1
yarn export
This creates a folder export that contains two files:
export/search.js, which contains all of the codeexport/search.css, which contains all of the styling
You are now ready to include these files into the appropriate part of your website’s code. For example, you can import them directly into your HTML:
1
2
<script src="search.js"></script>
<link rel="stylesheet" href="search.css">
Next Steps
This tutorial has shown you how to set-up Unified InstantSearch and what its features and components look like.
The next tutorial helps you integrate your data into Unified InstantSearch using the same codebase as in this tutorial. It takes a only a few steps to format your data to work with Unified InstantSearch, then push it to Algolia. The result is a working search interface that uses your own data.
