Voice Search
On this page
This guide explains how to build step by step a voice search experience using the libraries provided by Algolia. You’ll build an Android application with a classic search bar and a button that triggers the voice input. To create this app, you’ll use the InstantSearch and VoiceOverlay libraries.
Prepare your project
To use InstantSearch Android, you need an Algolia account. You can create a new account, or use the following credentials:
- Application ID:
latency - Search API Key:
1f6fd3a6fb973cb08419fe7d288fa4db - Index name:
bestbuy
These credentials give access to a preloaded dataset of products appropriate for this guide.
Create a new Android project
Start by creating a new Android project.
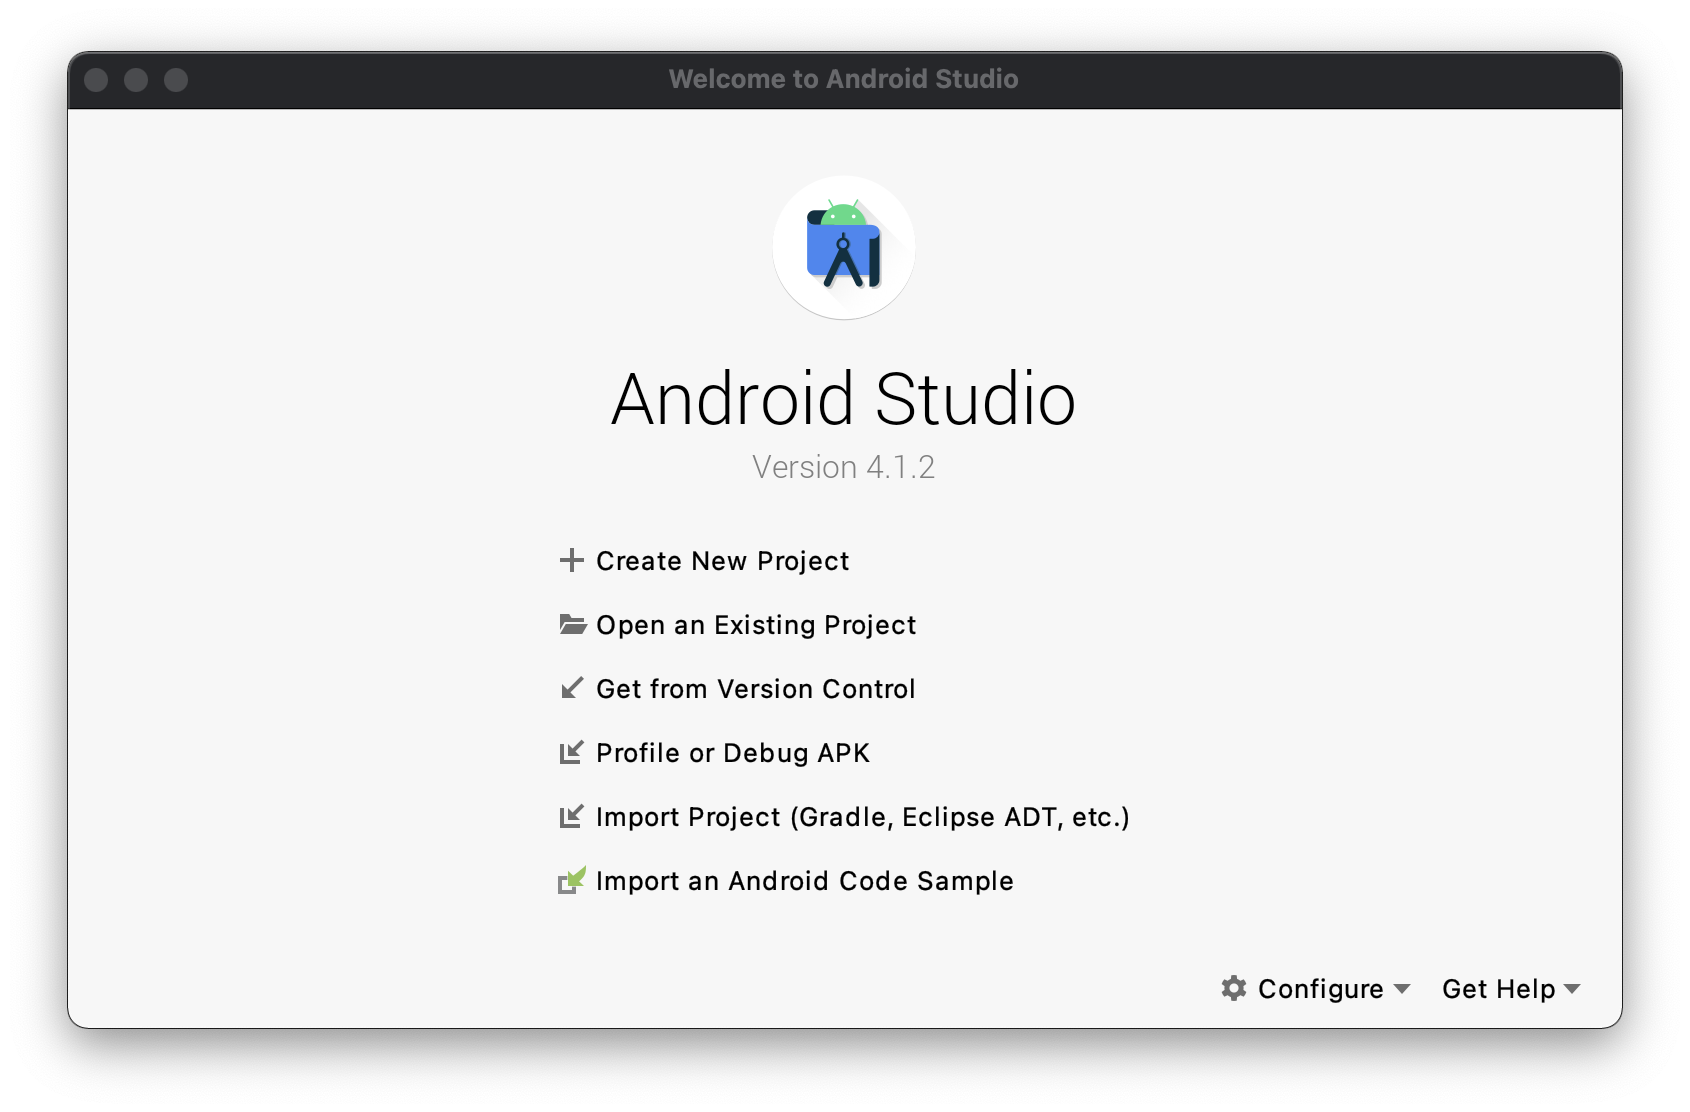
Open Android Studio, and select Create New Project.
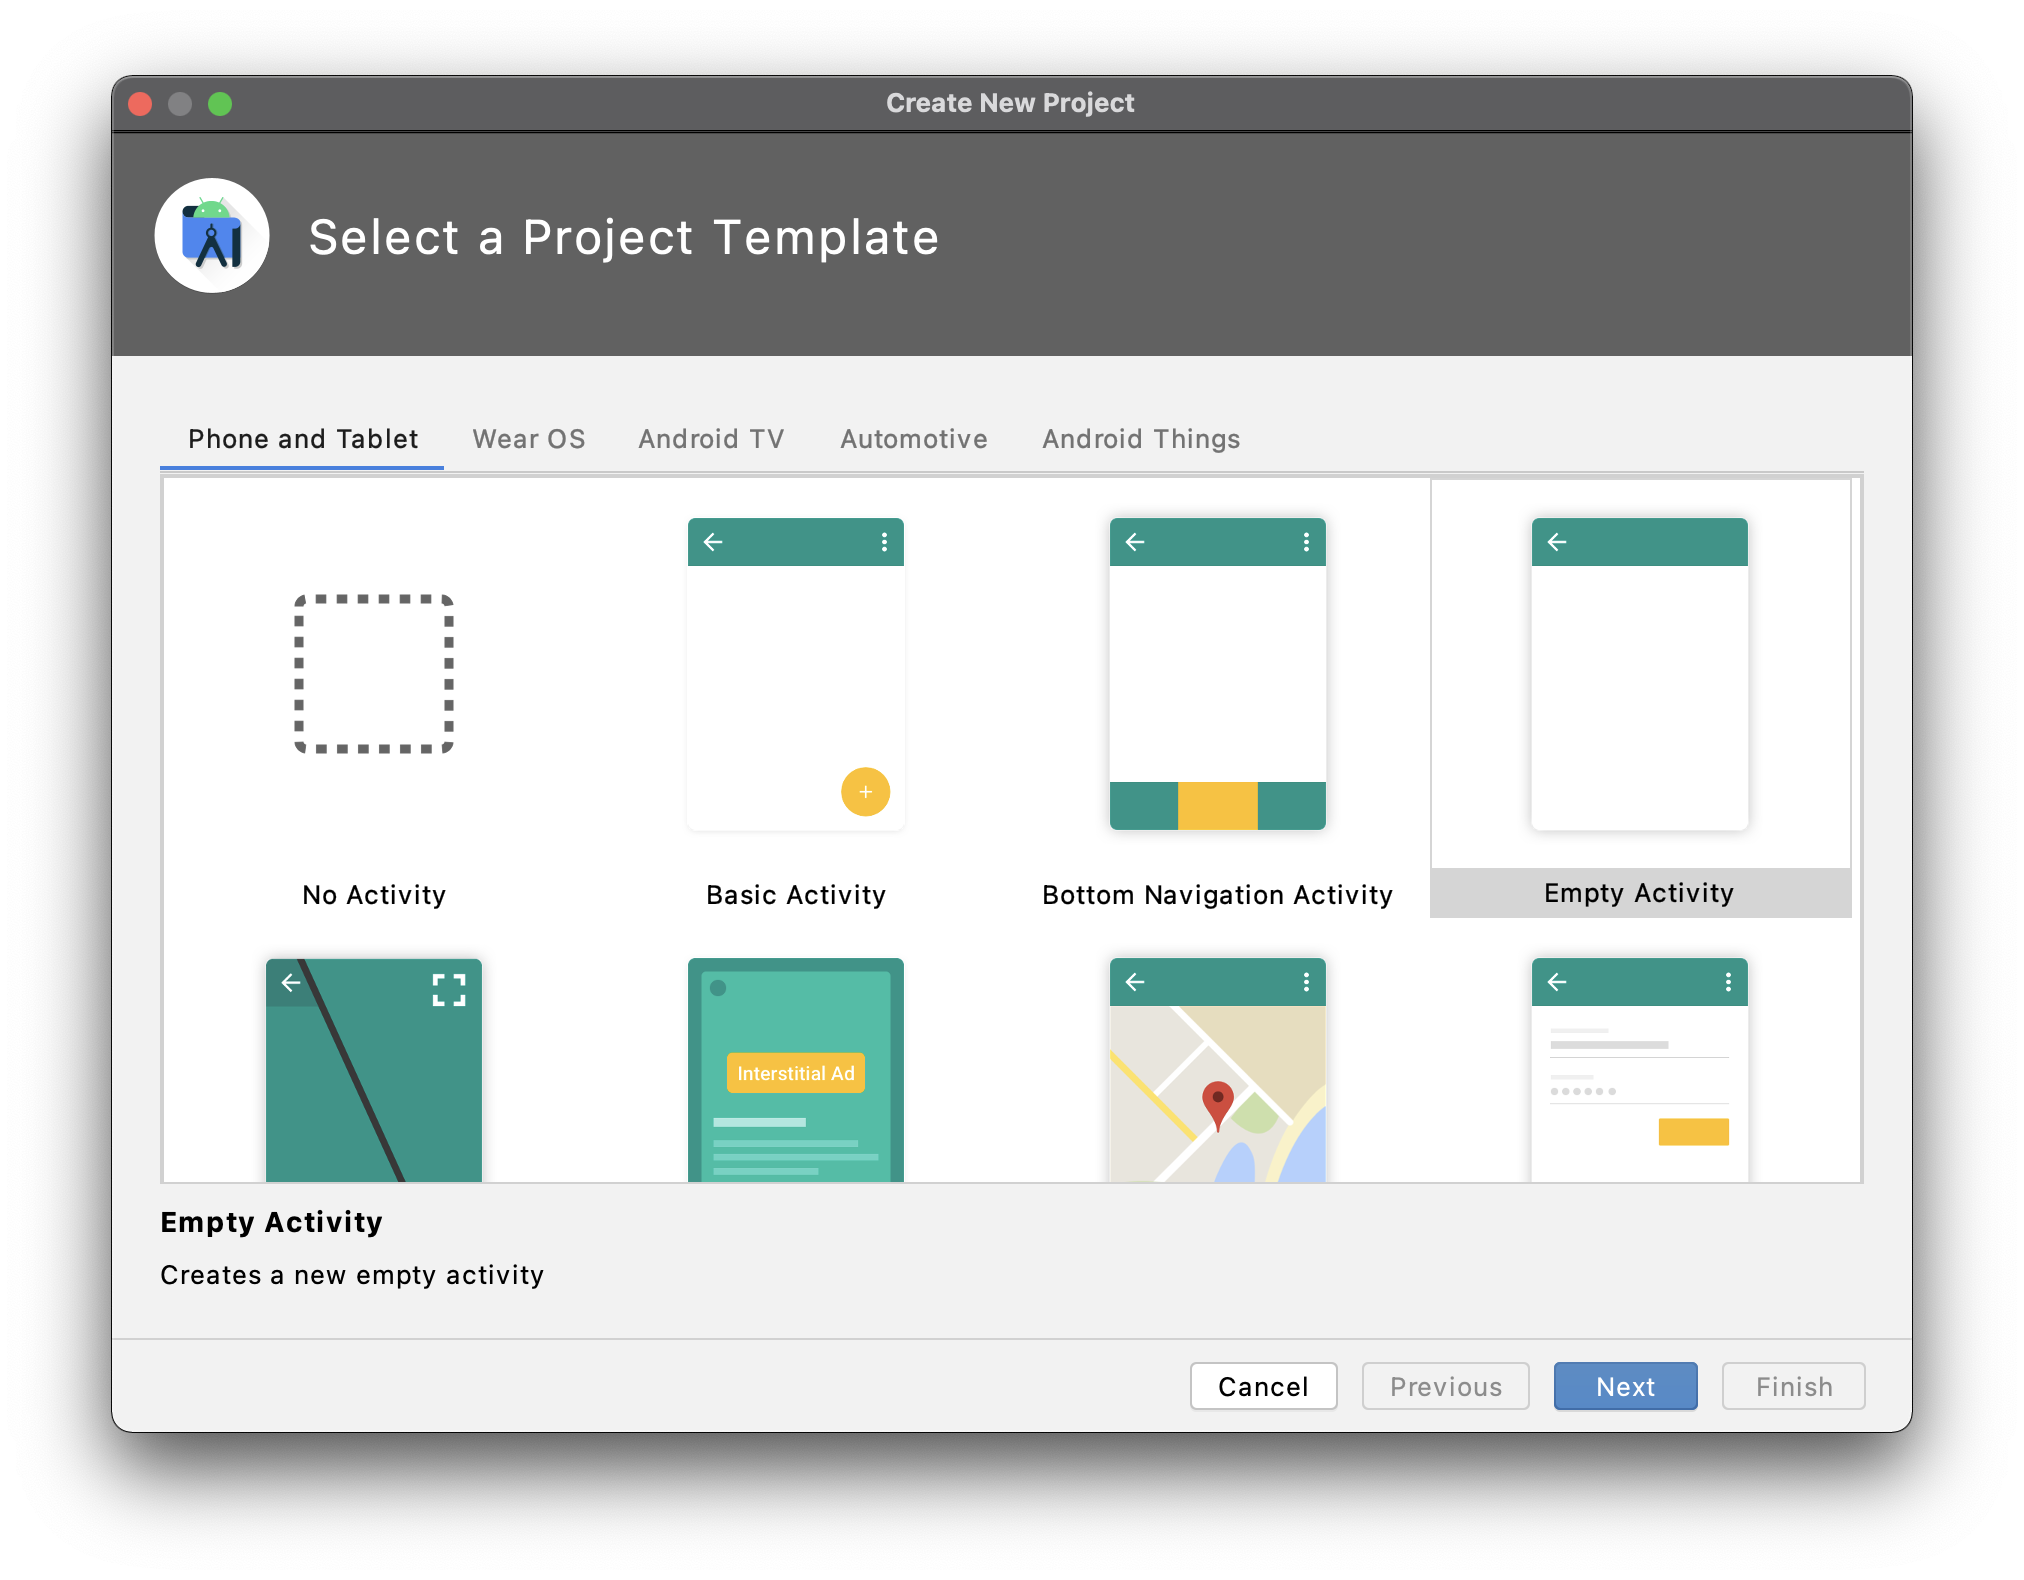
In the Select a Project Template window, select Empty Activity and click Next.
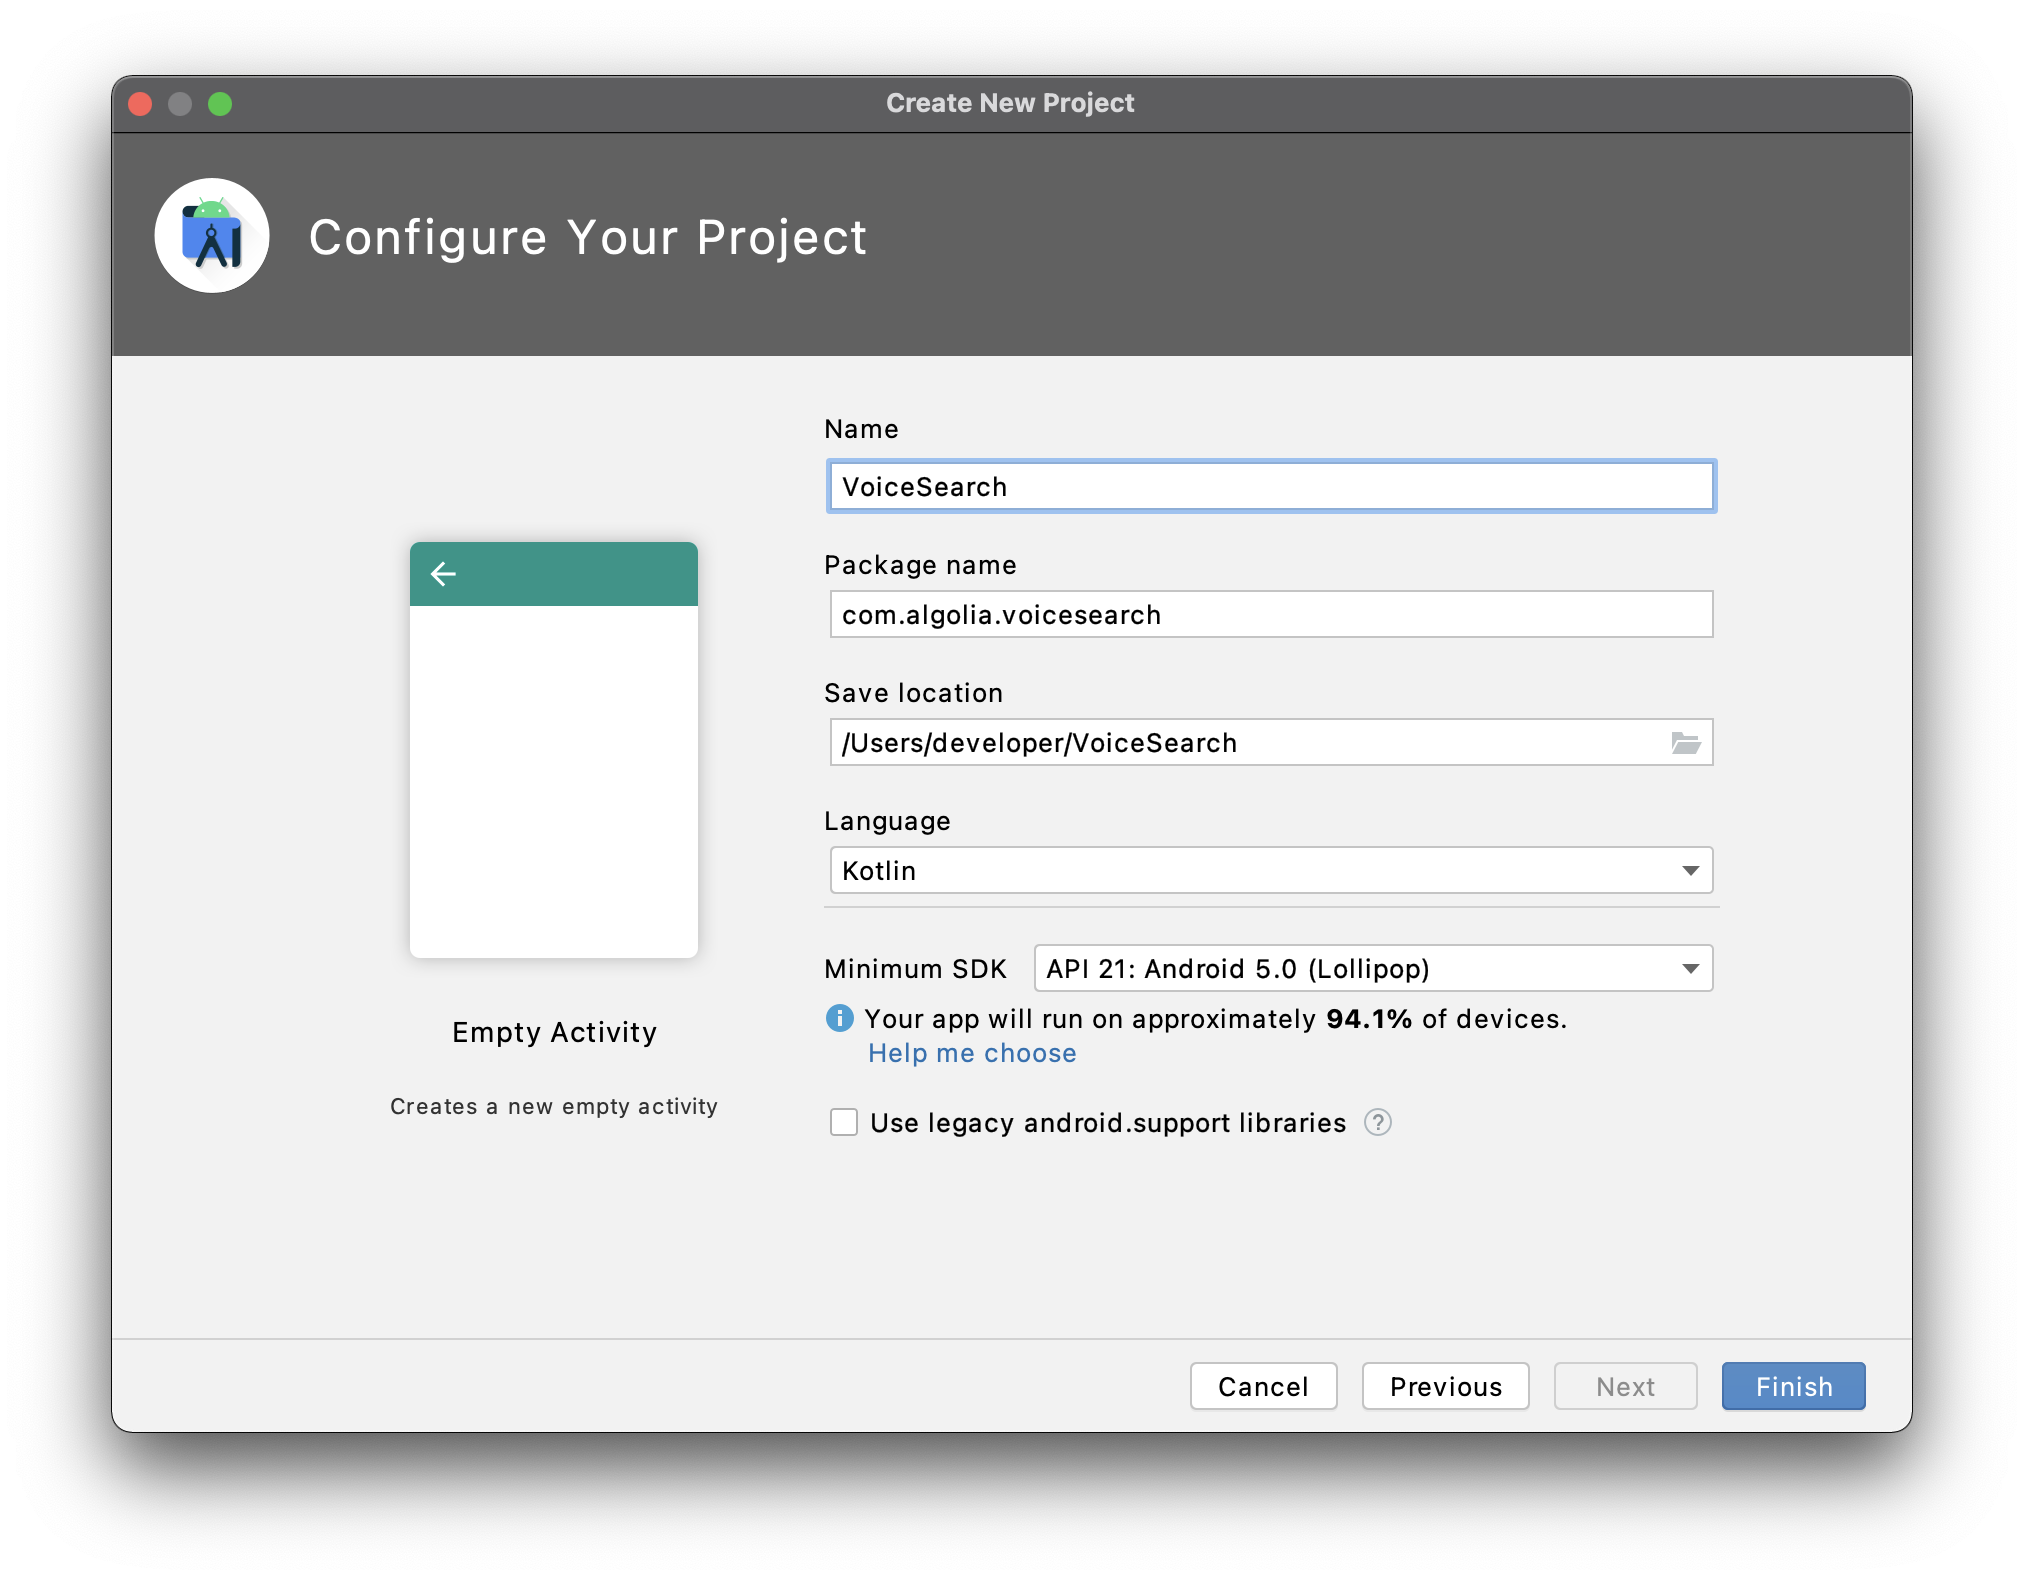
Input the name of your application. Select API 21 as minimum SDK version. Click Finish.
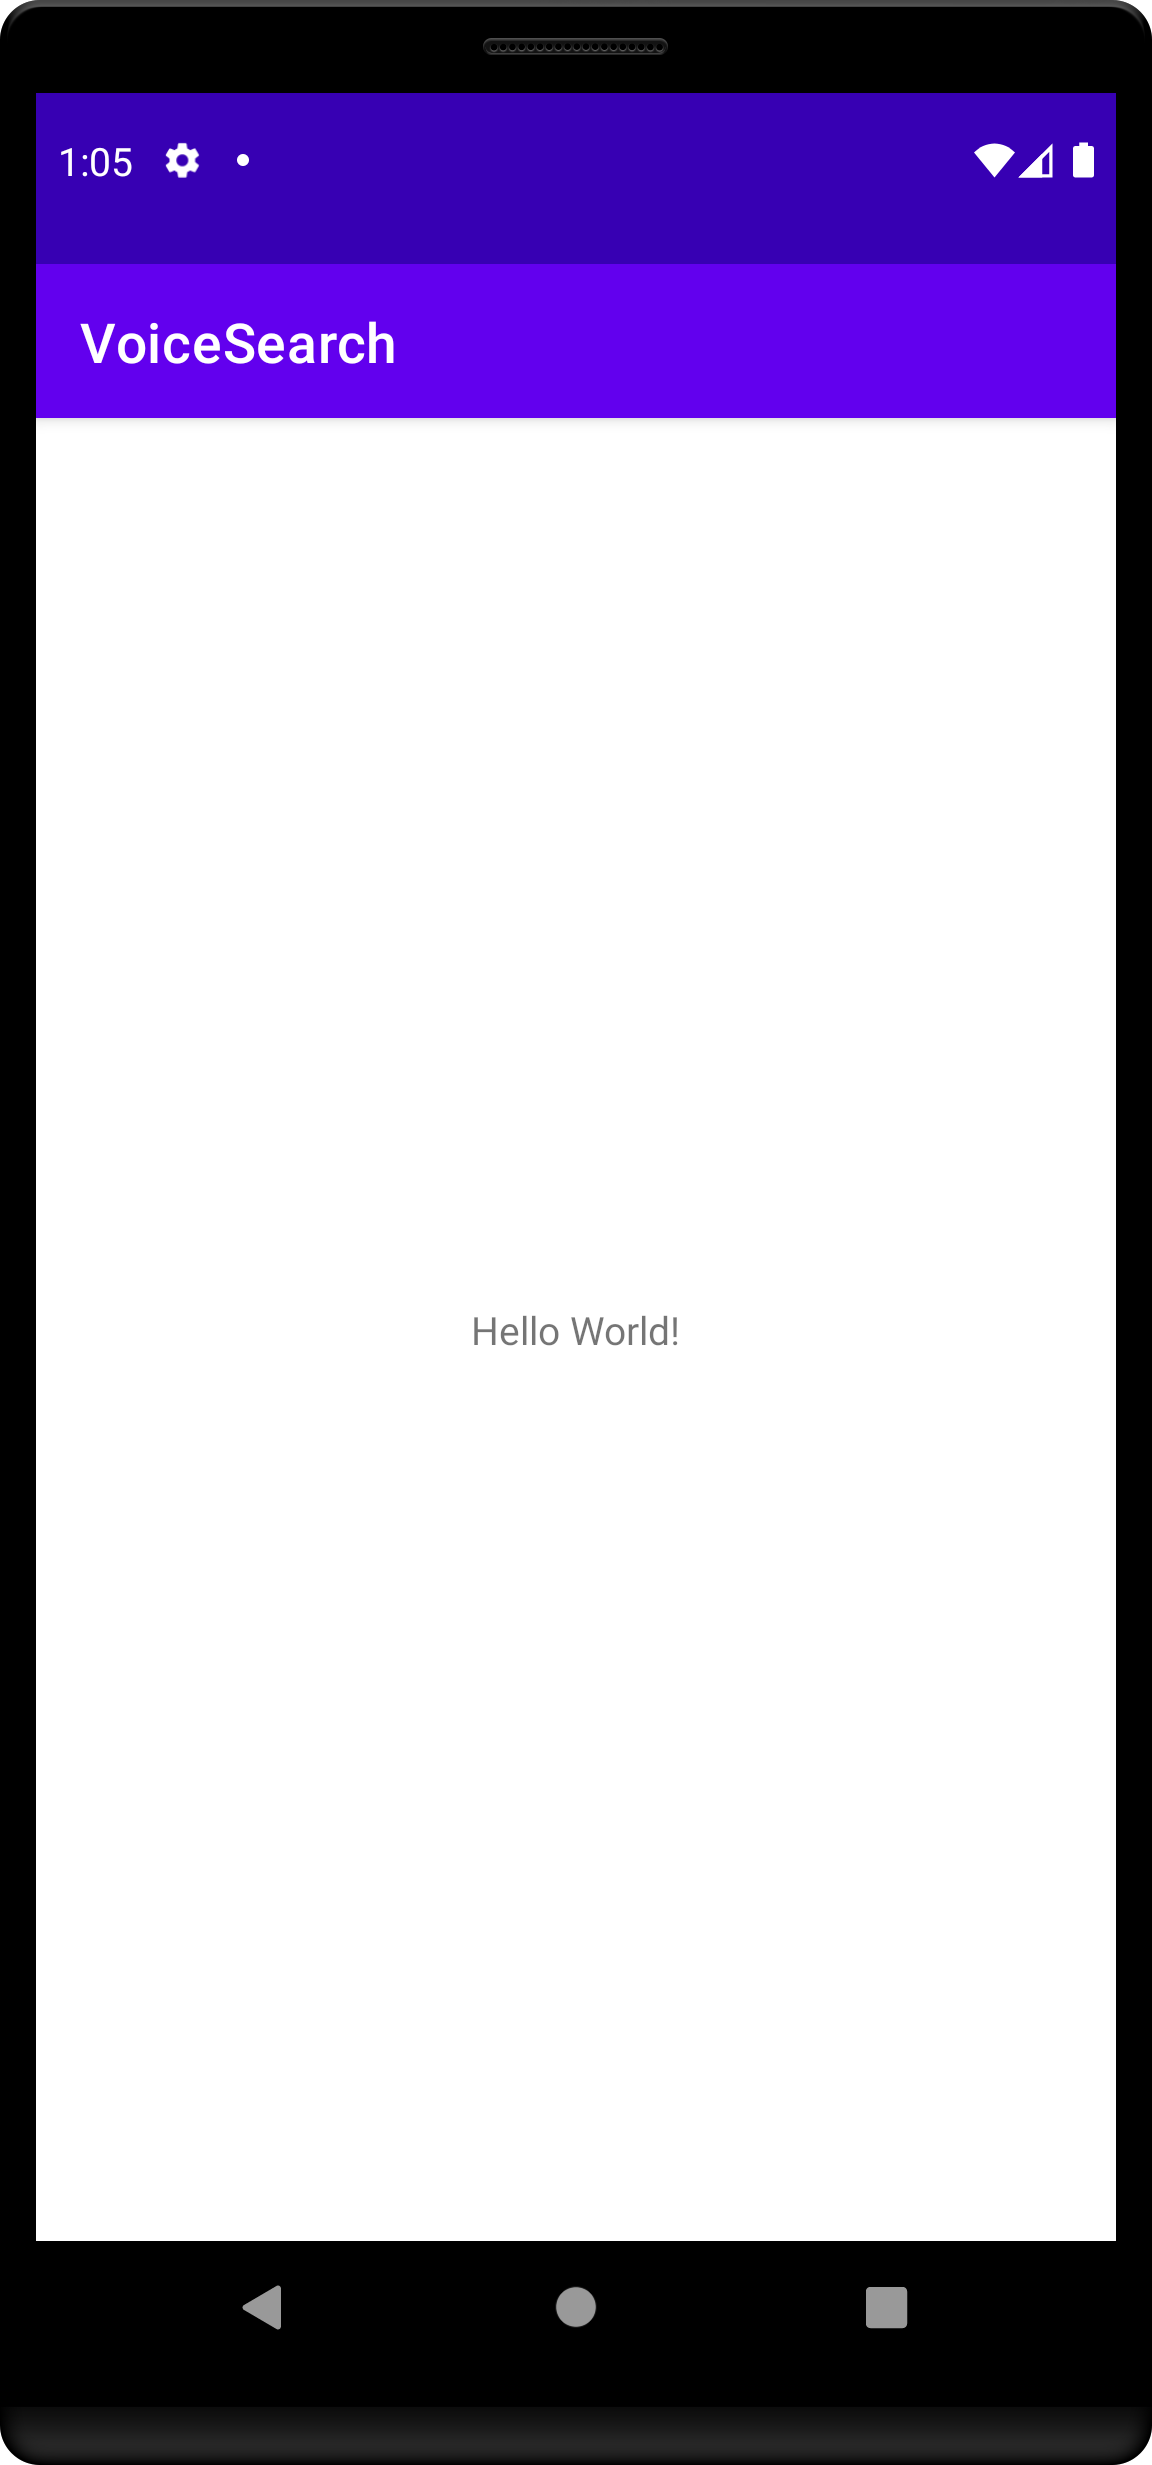
Build and run your application. You should see your app with blank screen.
Add project dependencies
In your build.gradle file at the project level, add mavenCentral() as a dependency repository in the repositories blocks:
1
2
3
4
repositories {
    google()
    mavenCentral()
}
In your build.gradle file under app module, add the following in the dependencies block:
1
2
implementation 'com.algolia:instantsearch-android:2.+'
implementation 'com.algolia.instantsearch:voice:1.+'
To perform network operations in your application, AndroidManifest.xml must include the following permissions:
1
<uses-permission android:name="android.permission.INTERNET" />
Setup kotlinx.serialization by adding the serialization plugin to your project’s build.gradle:
1
2
3
4
dependencies {
  //...
  classpath "org.jetbrains.kotlin:kotlin-serialization:$kotlin_version"
}
Add serialization plugin to the plugins block to your app’s build.gradle:
1
2
3
4
plugins {
  // ...
  id 'kotlinx-serialization'
}
Create a basic search experience
Start by creating a classic search interface with search bar and results list.
First, create a layout file called list_item.xml under res/layout/.
Add a TextView to display a hit:
1
2
3
4
5
6
7
8
9
10
11
12
13
14
15
16
17
18
19
20
21
22
23
24
<com.google.android.material.card.MaterialCardView xmlns:android="http://schemas.android.com/apk/res/android"
    xmlns:app="http://schemas.android.com/apk/res-auto"
    xmlns:tools="http://schemas.android.com/tools"
    android:layout_width="match_parent"
    android:layout_height="?attr/listPreferredItemHeightSmall"
    android:layout_marginBottom="0.5dp"
    app:cardCornerRadius="0dp"
    tools:layout_height="50dp">

    <TextView
        android:id="@+id/hit"
        style="@style/TextAppearance.MaterialComponents.Body1"
        android:layout_width="wrap_content"
        android:layout_height="wrap_content"
        android:layout_gravity="center_vertical"
        android:layout_marginHorizontal="16dp"
        android:maxLines="1"
        app:layout_constraintBottom_toBottomOf="parent"
        app:layout_constraintEnd_toEndOf="parent"
        app:layout_constraintStart_toStartOf="parent"
        app:layout_constraintTop_toTopOf="parent"
        tools:text="@tools:sample/lorem/random" />

</com.google.android.material.card.MaterialCardView>
Update your layout file activity_main.xml to have a minimal set of components for a basic search experience:
SearchView: view for textual query inputRecyclerView: the list of search results
1
2
3
4
5
6
7
8
9
10
11
12
13
14
15
16
17
18
19
20
21
22
23
24
25
26
27
28
29
30
31
32
33
34
<androidx.constraintlayout.widget.ConstraintLayout xmlns:android="http://schemas.android.com/apk/res/android"
    xmlns:app="http://schemas.android.com/apk/res-auto"
    xmlns:tools="http://schemas.android.com/tools"
    android:layout_width="match_parent"
    android:layout_height="match_parent"
    tools:context=".MainActivity">

    <androidx.appcompat.widget.SearchView
        android:id="@+id/searchView"
        android:layout_width="0dp"
        android:layout_height="wrap_content"
        android:background="@color/white"
        android:elevation="6dp"
        app:iconifiedByDefault="false"
        app:layout_constraintEnd_toEndOf="parent"
        app:layout_constraintStart_toStartOf="parent"
        app:layout_constraintTop_toTopOf="parent"
        app:queryBackground="@android:color/transparent"
        app:queryHint="Search for products"
        app:voiceIcon="@drawable/ic_microphone" />

    <androidx.recyclerview.widget.RecyclerView
        android:id="@+id/hits"
        android:layout_width="0dp"
        android:layout_height="0dp"
        app:layoutManager="LinearLayoutManager"
        app:layout_constraintBottom_toBottomOf="parent"
        app:layout_constraintEnd_toEndOf="parent"
        app:layout_constraintStart_toStartOf="parent"
        app:layout_constraintTop_toBottomOf="@+id/searchView"
        tools:itemCount="100"
        tools:listitem="@layout/list_item" />

</androidx.constraintlayout.widget.ConstraintLayout>
The view is ready, it’s time to work on the search logic. Create a new class Product to hold search results:
1
2
@Serializable
data class Product(override val objectID: ObjectID, val name: String) : Indexable
Create a new class ProductAdapter to render search results:
1
2
3
4
5
6
7
8
9
10
11
12
13
14
15
16
17
18
19
20
21
22
23
24
25
26
27
28
29
30
31
32
33
34
35
class ProductAdapter : ListAdapter<Product, ProductAdapter.ProductViewHolder>(ProductAdapter),
  HitsView<Product> {

  override fun onCreateViewHolder(parent: ViewGroup, viewType: Int): ProductViewHolder {
      val view = LayoutInflater.from(parent.context).inflate(R.layout.list_item, parent, false)
      return ProductViewHolder(view)
  }

  override fun onBindViewHolder(holder: ProductViewHolder, position: Int) {
      val product = getItem(position)
      if (product != null) holder.bind(product)
  }

  override fun setHits(hits: List<Product>) {
      submitList(hits)
  }

  companion object : DiffUtil.ItemCallback<Product>() {
      override fun areItemsTheSame(oldItem: Product, newItem: Product): Boolean {
          return oldItem.objectID == newItem.objectID
      }

      override fun areContentsTheSame(oldItem: Product, newItem: Product): Boolean {
          return oldItem == newItem
      }
  }

  class ProductViewHolder(val view: View) : RecyclerView.ViewHolder(view) {

      fun bind(product: Product) {
          val hit = view.findViewById<TextView>(R.id.hit)
          hit.text = product.name
      }
  }
}
In your MainActivity use the SearchBox and Hits widgets:
1
2
3
4
5
6
7
8
9
10
11
12
13
14
15
16
17
18
19
20
21
22
23
24
25
26
27
28
29
30
31
32
33
34
35
class MainActivity : AppCompatActivity() {

    val client = ClientSearch(
        applicationID = ApplicationID("latency"),
        apiKey = APIKey("1f6fd3a6fb973cb08419fe7d288fa4db")
    )
    val index = client.initIndex(IndexName("bestbuy"))
    val searcher = SearcherSingleIndex(index)
    val searchBox = SearchBoxConnector(searcher, searchMode = SearchMode.AsYouType)
    val connection = ConnectionHandler(searchBox)

    override fun onCreate(savedInstanceState: Bundle?) {
        super.onCreate(savedInstanceState)
        setContentView(R.layout.activity_main)
        // Setup SearchBox widget
        val searchView = findViewById<SearchView>(R.id.searchView)
        val searchBoxView = SearchBoxViewAppCompat(searchView)
        connection += searchBox.connectView(searchBoxView)
        // Setup Hits widget
        val hits = findViewById<RecyclerView>(R.id.hits)
        val productAdapter = ProductAdapter()
        hits.adapter = productAdapter
        connection += searcher.connectHitsView(productAdapter) { response ->
            response.hits.deserialize(Product.serializer())
        }
        // Initial search
        searcher.searchAsync()
    }

    override fun onDestroy() {
        super.onDestroy()
        searcher.cancel()
        connection.clear()
    }
}
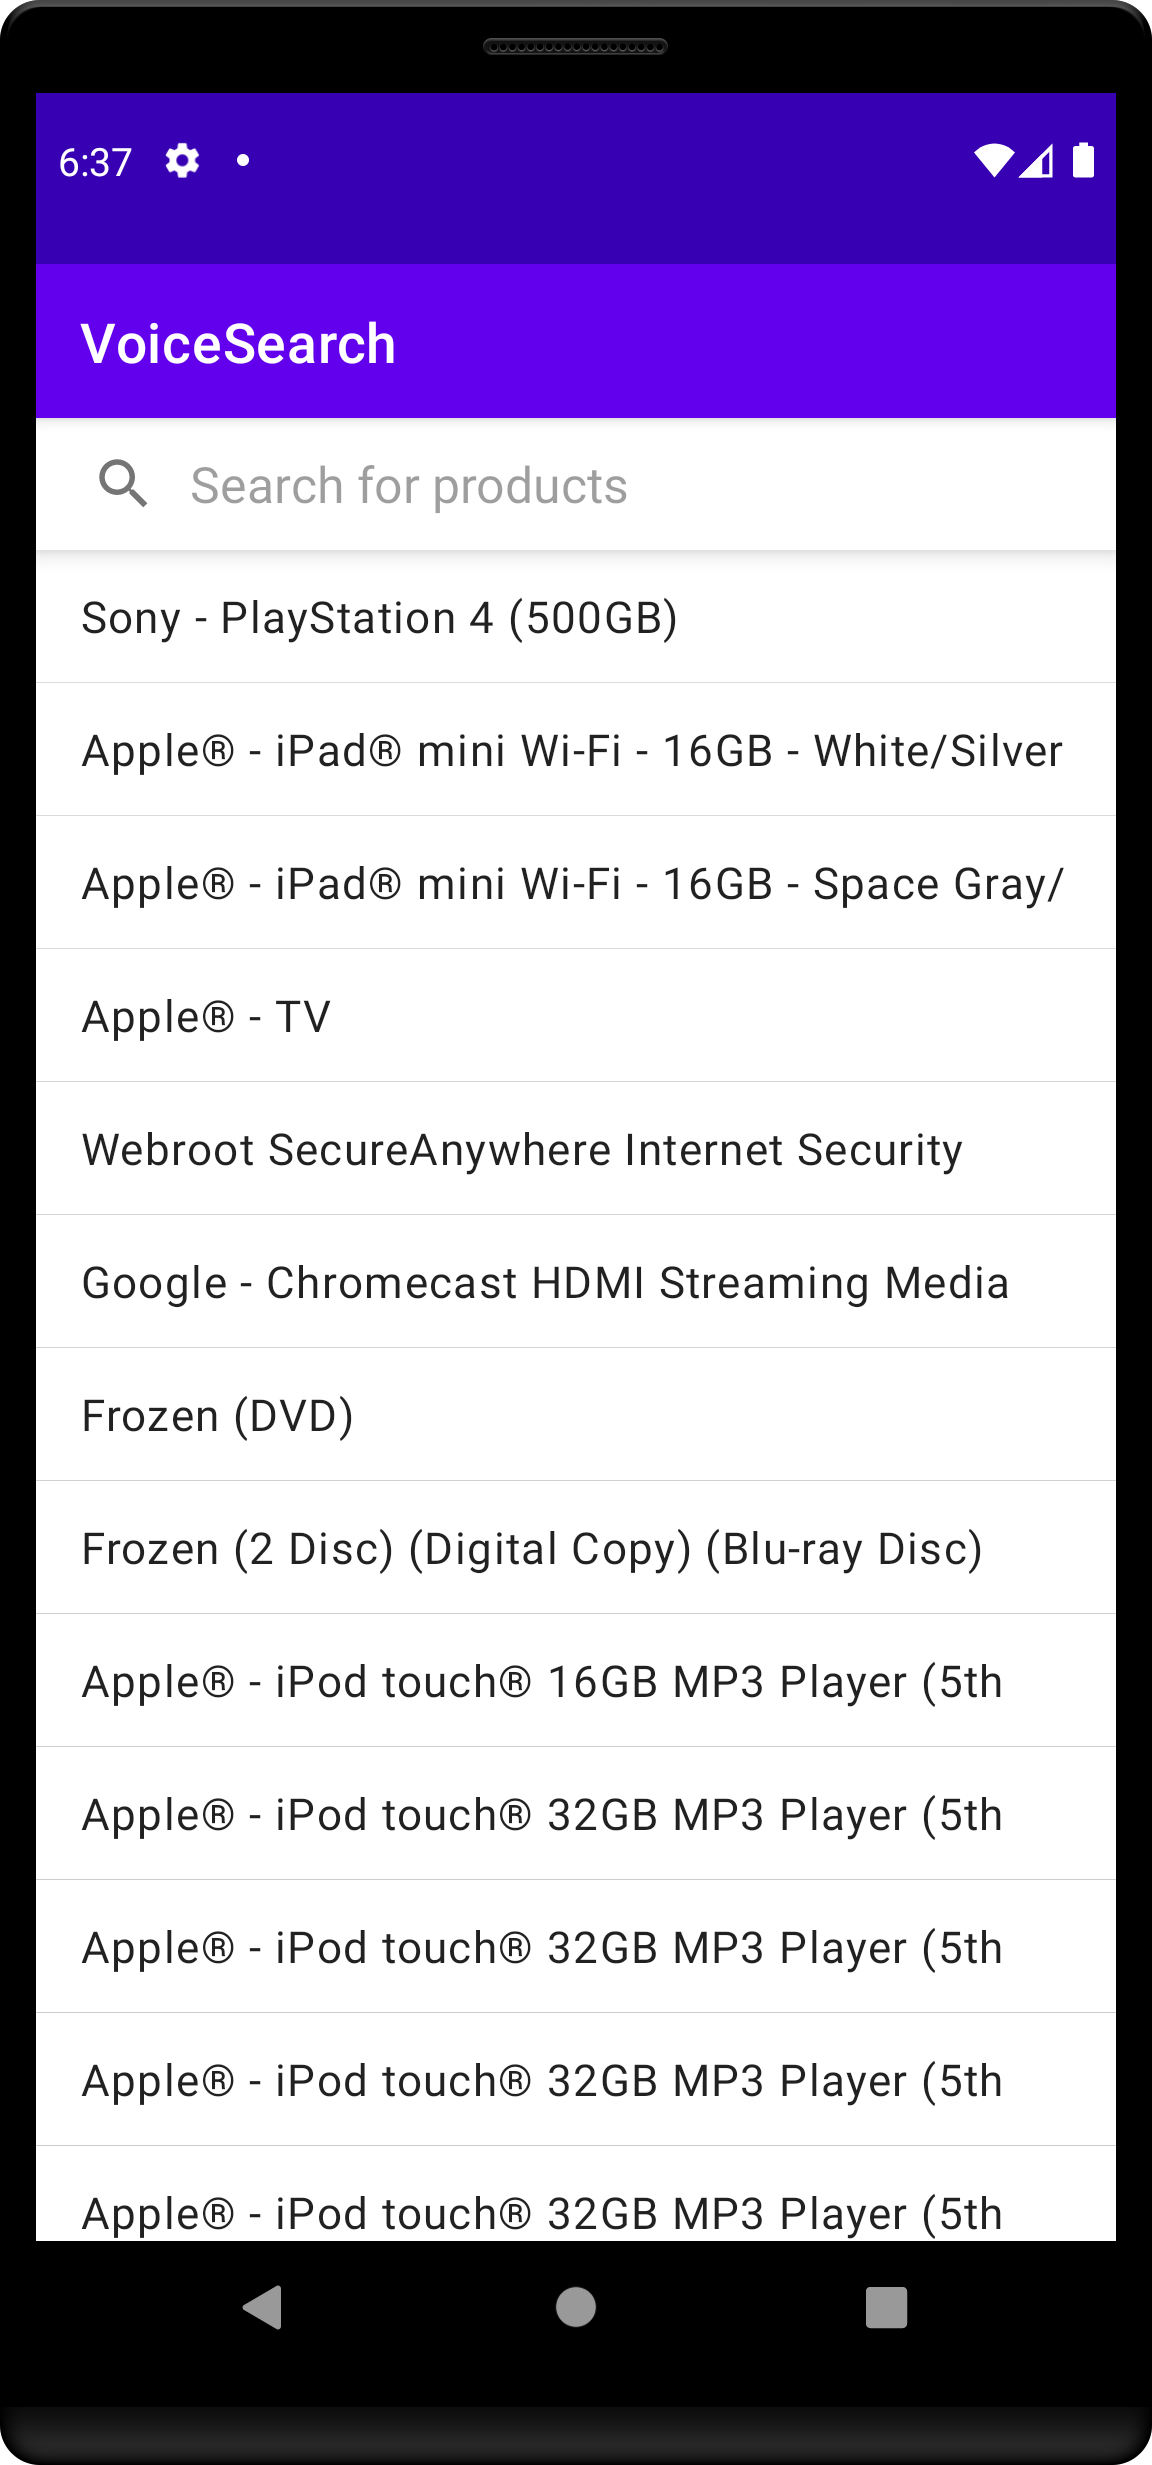
Build and run your application. The basic search experience is ready: you can type your search query and get instant results.
Create a voice search experience
This is a two-step process:
- Prepare the project for voice input and speech recognition.
- Add a button on the right of the search bar that triggers the voice input.
Setup audio permission
Add RECORD_AUDIO permission to AndroidManifest.xml file:
1
<uses-permission android:name="android.permission.RECORD_AUDIO"/>
Add voice input UI
Change activity_main.xml to add the new voice input button to the existing UI.
The updated layout file should look as follows:
1
2
3
4
5
6
7
8
9
10
11
12
13
14
15
16
17
18
19
20
21
22
23
24
25
26
27
28
29
30
31
32
33
34
35
36
37
38
39
40
41
42
43
44
45
46
47
48
<androidx.constraintlayout.widget.ConstraintLayout xmlns:android="http://schemas.android.com/apk/res/android"
    xmlns:app="http://schemas.android.com/apk/res-auto"
    xmlns:tools="http://schemas.android.com/tools"
    android:layout_width="match_parent"
    android:layout_height="match_parent"
    tools:context=".MainActivity">

    <androidx.appcompat.widget.SearchView
        android:id="@+id/searchView"
        android:layout_width="0dp"
        android:layout_height="wrap_content"
        android:background="@color/white"
        android:elevation="6dp"
        android:focusable="false"
        app:iconifiedByDefault="false"
        app:layout_constraintEnd_toStartOf="@+id/microphone"
        app:layout_constraintStart_toStartOf="parent"
        app:layout_constraintTop_toTopOf="parent"
        app:queryBackground="@android:color/transparent"
        app:queryHint="Search for products"
        app:voiceIcon="@drawable/ic_microphone" />

    <ImageView
        android:id="@+id/microphone"
        android:layout_width="wrap_content"
        android:layout_height="0dp"
        android:background="@color/white"
        android:elevation="6dp"
        android:padding="4dp"
        app:layout_constraintBottom_toBottomOf="@+id/searchView"
        app:layout_constraintEnd_toEndOf="parent"
        app:layout_constraintTop_toTopOf="@+id/searchView"
        app:srcCompat="@drawable/ic_microphone"
        app:tint="@color/blue_dark" />

    <androidx.recyclerview.widget.RecyclerView
        android:id="@+id/hits"
        android:layout_width="0dp"
        android:layout_height="0dp"
        app:layoutManager="LinearLayoutManager"
        app:layout_constraintBottom_toBottomOf="parent"
        app:layout_constraintEnd_toEndOf="parent"
        app:layout_constraintStart_toStartOf="parent"
        app:layout_constraintTop_toBottomOf="@+id/searchView"
        tools:itemCount="100"
        tools:listitem="@layout/list_item" />

</androidx.constraintlayout.widget.ConstraintLayout>
Add voice input logic
Add a basic implementation of VoiceOverlay:
In the click listener, check if you have the audio permission and show the appropriate dialog:
1
2
3
4
5
6
7
val microphone = findViewById<View>(R.id.microphone)
microphone.setOnClickListener {
    when (isRecordAudioPermissionGranted()) {
        true -> VoiceInputDialogFragment().show(supportFragmentManager, "INPUT")
        false -> VoicePermissionDialogFragment().show(supportFragmentManager, "PERMISSION")
    }
}
Once the user speaks, you get their input back by implementing VoiceSpeechRecognizer.ResultsListener
1
2
3
4
5
6
7
class MainActivity : AppCompatActivity(), VoiceSpeechRecognizer.ResultsListener {
    //...
    override fun onResults(possibleTexts: Array<out String>) {
        val searchView = findViewById<SearchView>(R.id.searchView)
        possibleTexts.firstOrNull()?.let { input -> searchView.setQuery(input, true) }
    }
}
In the end, the code of your MainActivity should look as follows:
1
2
3
4
5
6
7
8
9
10
11
12
13
14
15
16
17
18
19
20
21
22
23
24
25
26
27
28
29
30
31
32
33
34
35
36
37
38
39
40
41
42
43
44
45
46
47
48
class MainActivity : AppCompatActivity(), VoiceSpeechRecognizer.ResultsListener {

    val client = ClientSearch(
        applicationID = ApplicationID("latency"),
        apiKey = APIKey("1f6fd3a6fb973cb08419fe7d288fa4db")
    )
    val index = client.initIndex(IndexName("bestbuy"))
    val searcher = SearcherSingleIndex(index)
    val searchBox = SearchBoxConnector(searcher, searchMode = SearchMode.AsYouType)
    val connection = ConnectionHandler(searchBox)

    override fun onCreate(savedInstanceState: Bundle?) {
        super.onCreate(savedInstanceState)
        setContentView(R.layout.activity_main)
        // Setup SearchBox widget
        val searchView = findViewById<SearchView>(R.id.searchView)
        val searchBoxView = SearchBoxViewAppCompat(searchView)
        connection += searchBox.connectView(searchBoxView)
        // Setup Hits widget
        val hits = findViewById<RecyclerView>(R.id.hits)
        val productAdapter = ProductAdapter()
        hits.adapter = productAdapter
        connection += searcher.connectHitsView(productAdapter) { response ->
            response.hits.deserialize(Product.serializer())
        }
        // Setup VoiceOverlay
        val microphone = findViewById<View>(R.id.microphone)
        microphone.setOnClickListener {
            when (isRecordAudioPermissionGranted()) {
                true -> VoiceInputDialogFragment().show(supportFragmentManager, "INPUT")
                false -> VoicePermissionDialogFragment().show(supportFragmentManager, "PERMISSION")
            }
        }
        // Initial search
        searcher.searchAsync()
    }

    override fun onResults(possibleTexts: Array<out String>) {
        val searchView = findViewById<SearchView>(R.id.searchView)
        possibleTexts.firstOrNull()?.let { input -> searchView.setQuery(input, true) }
    }

    override fun onDestroy() {
        super.onDestroy()
        searcher.cancel()
        connection.clear()
    }
}
Build and run your application to test your voice search. You should see the voice input button on the right of the search bar.
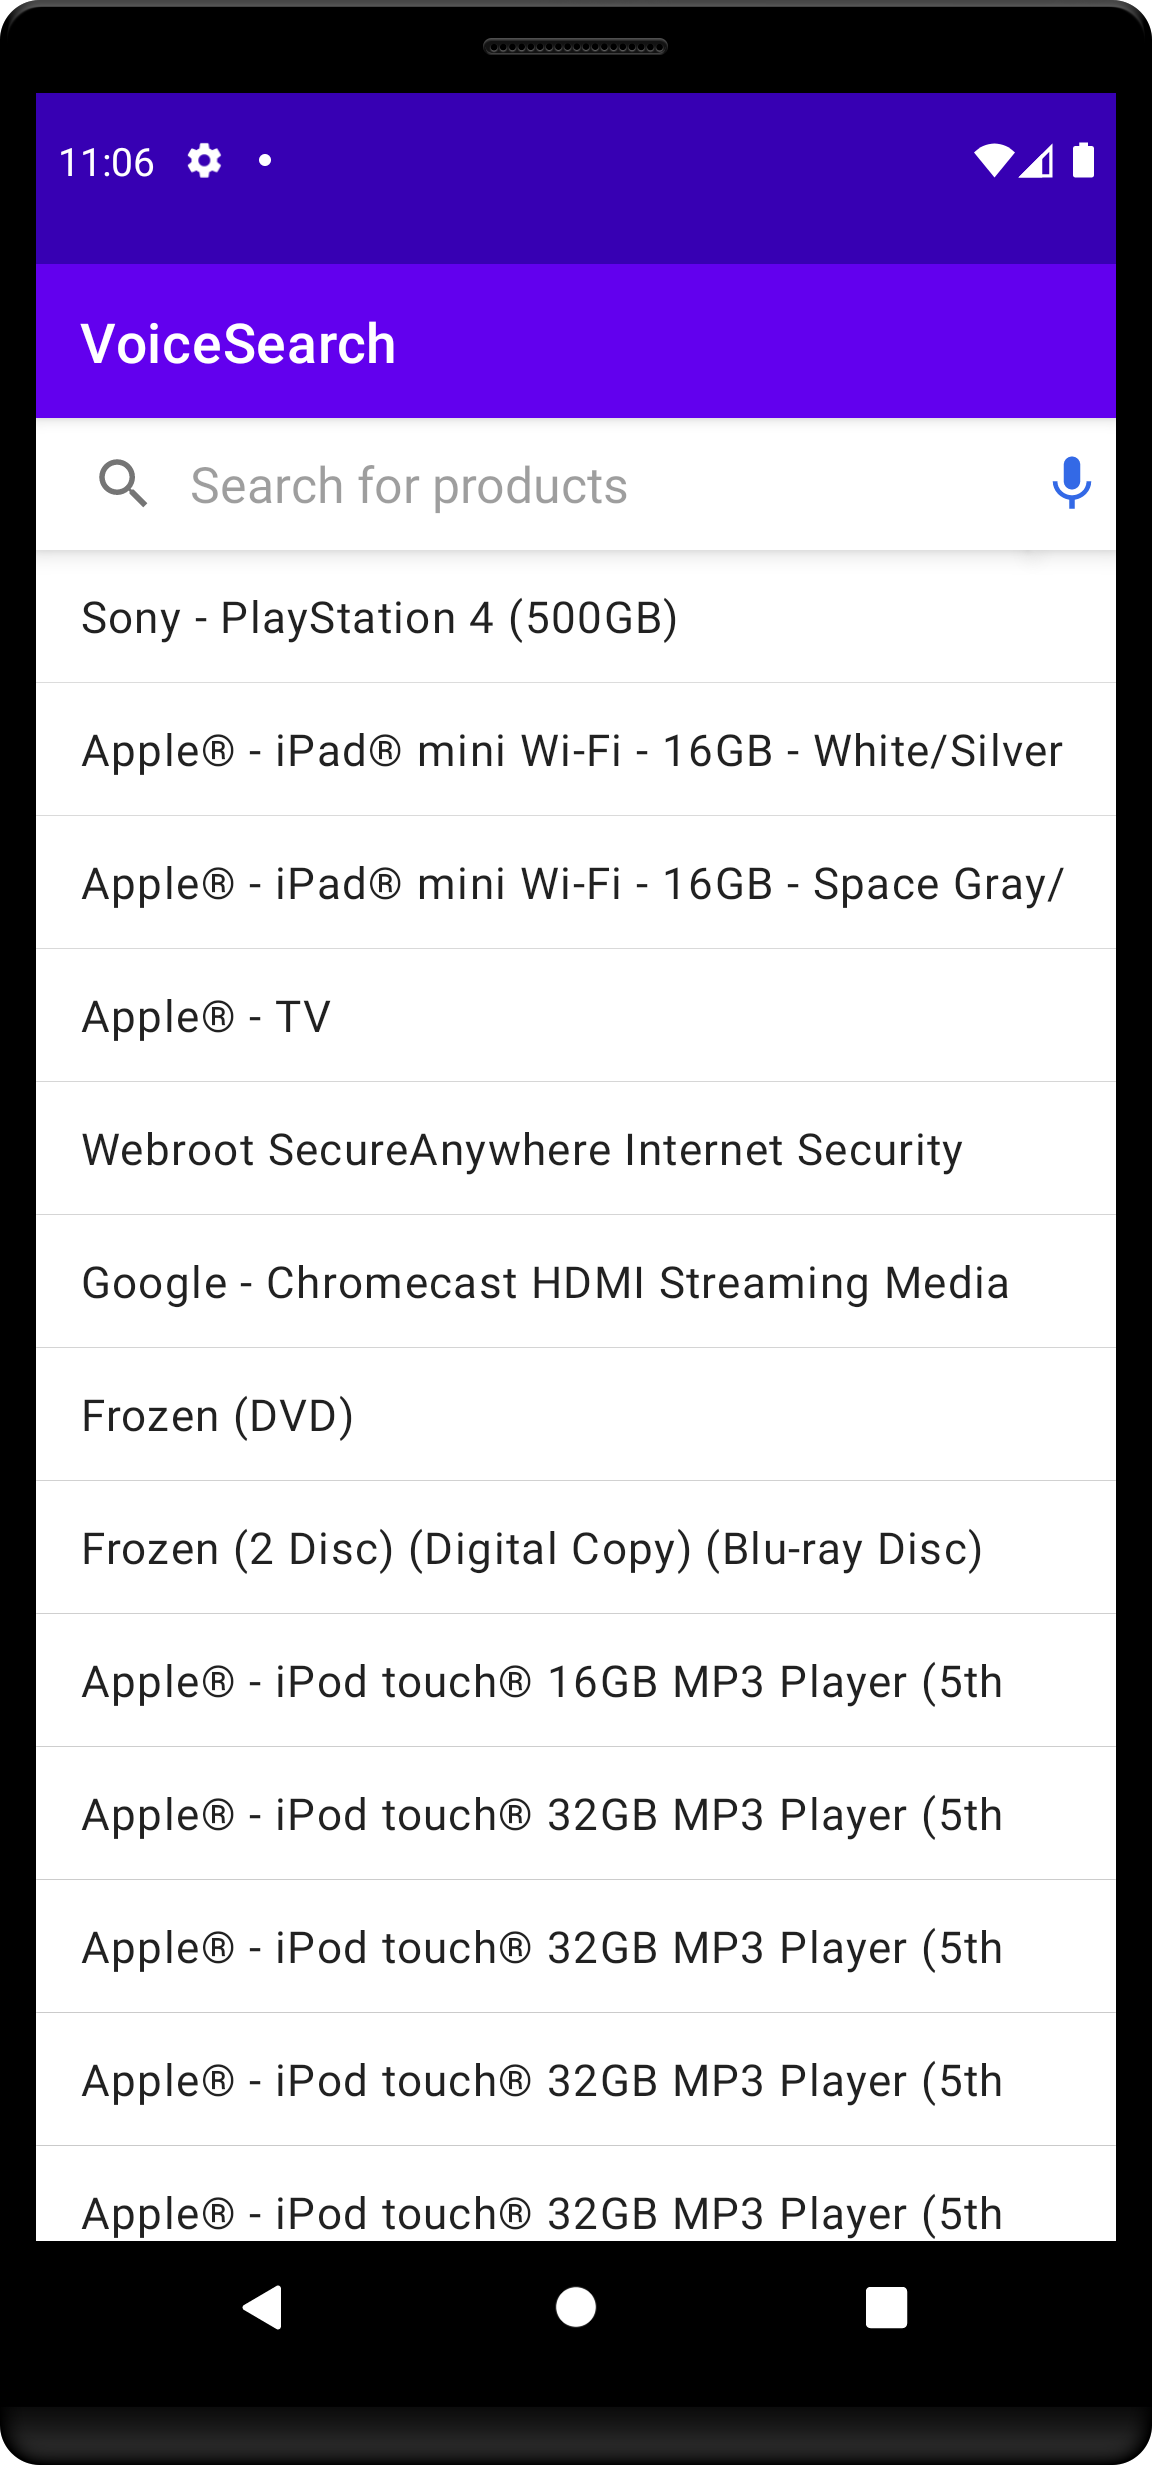
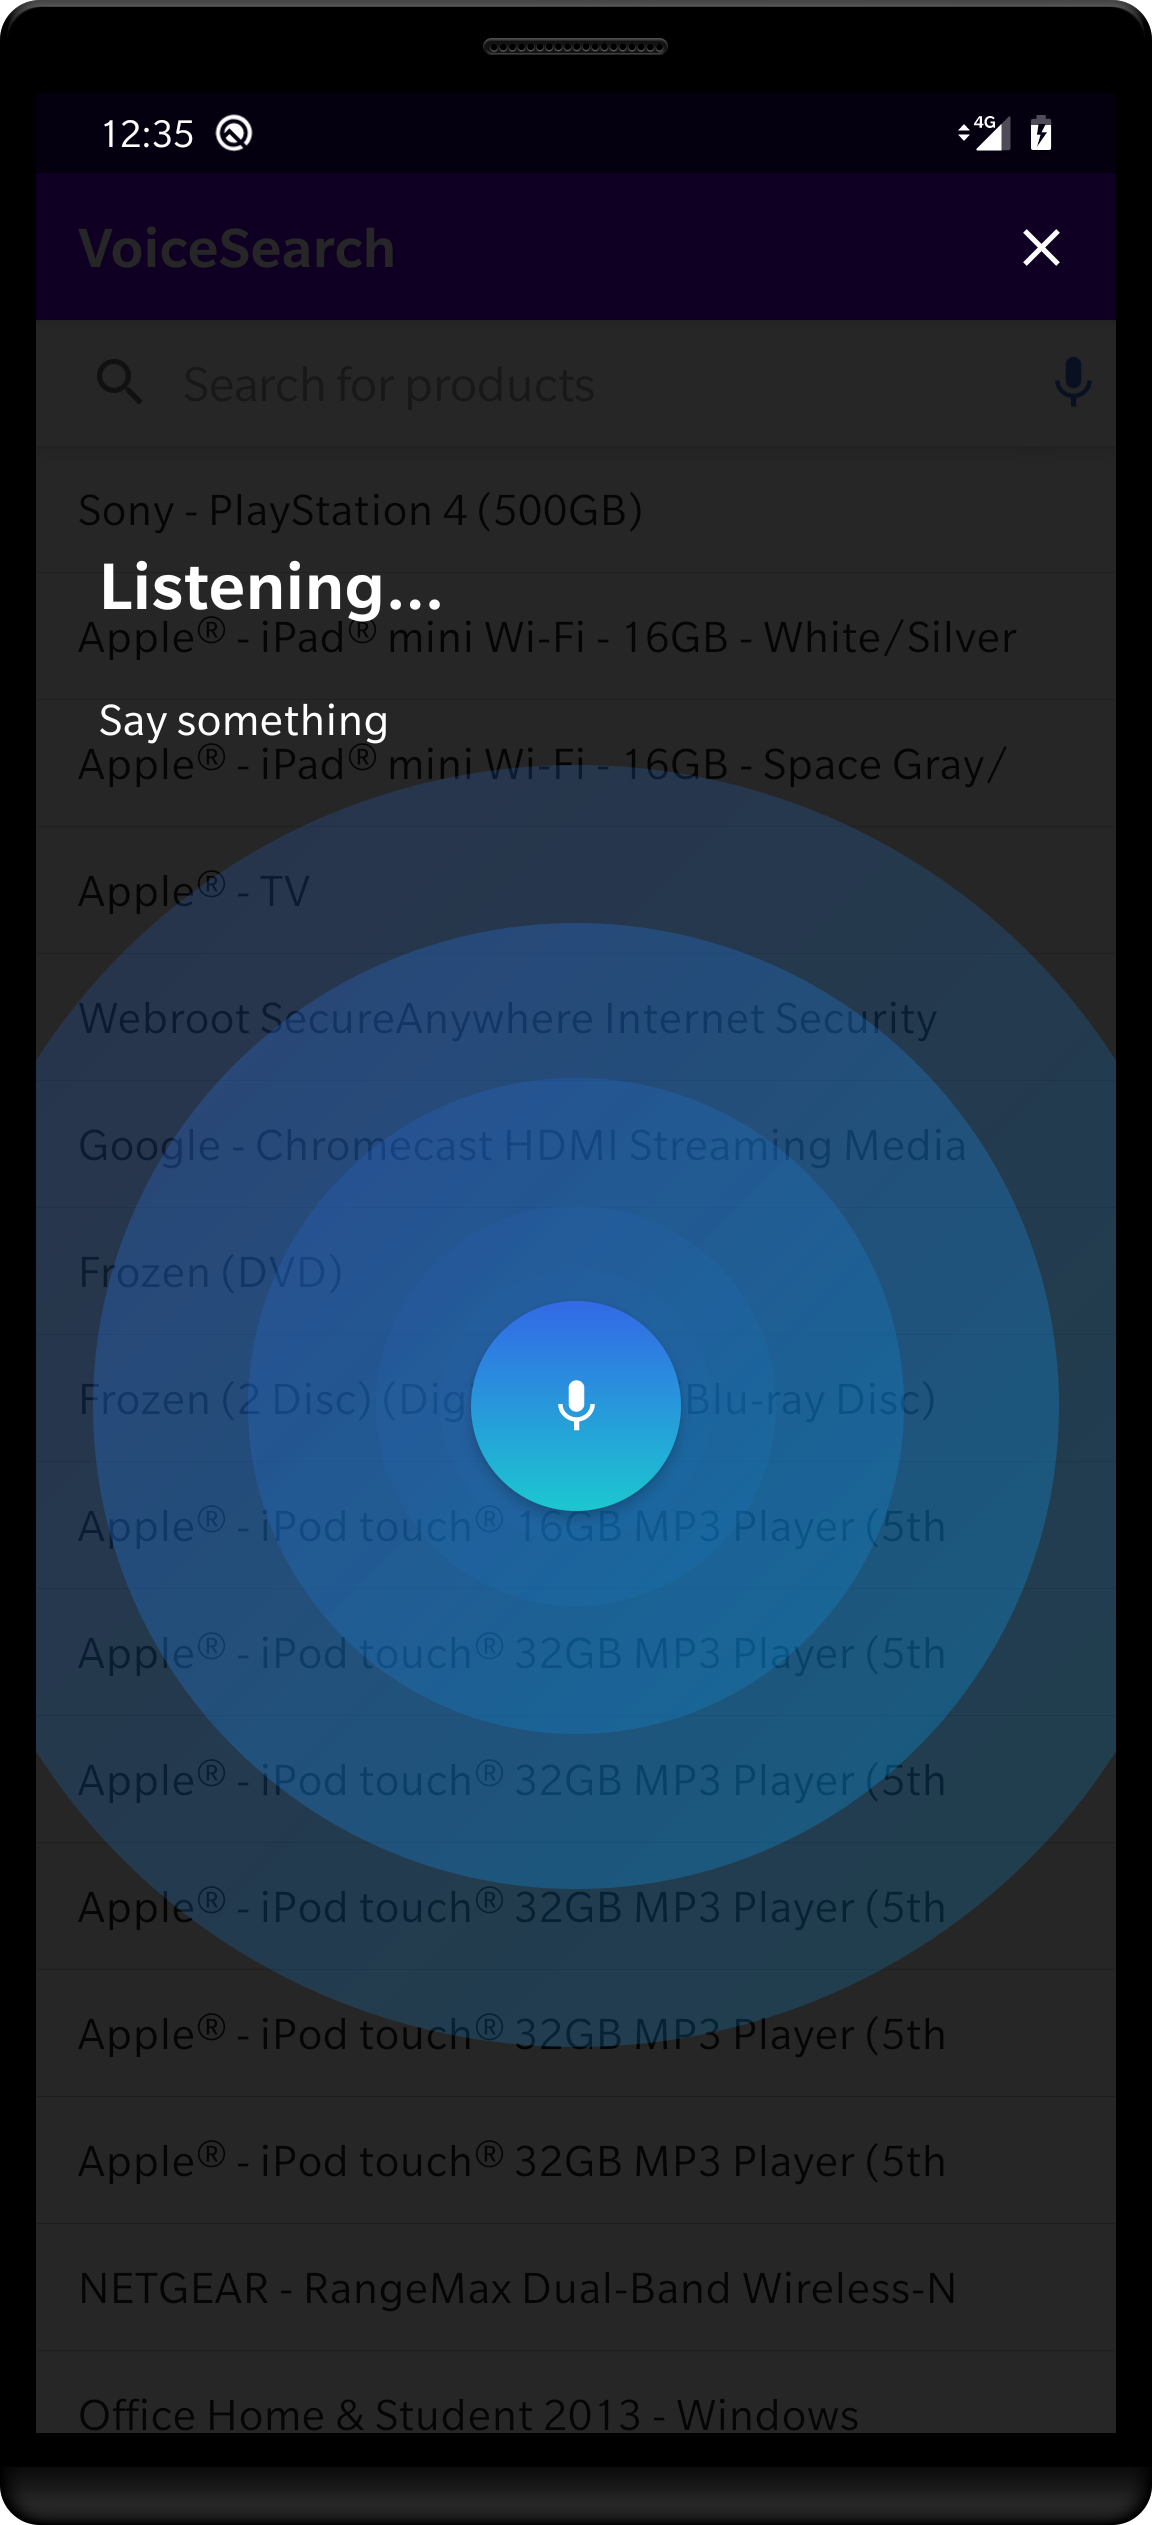
The VoiceOverlay should appear when you tap the voice input button. At the first launch, it asks for the permissions mentioned in the setup audio permission section.
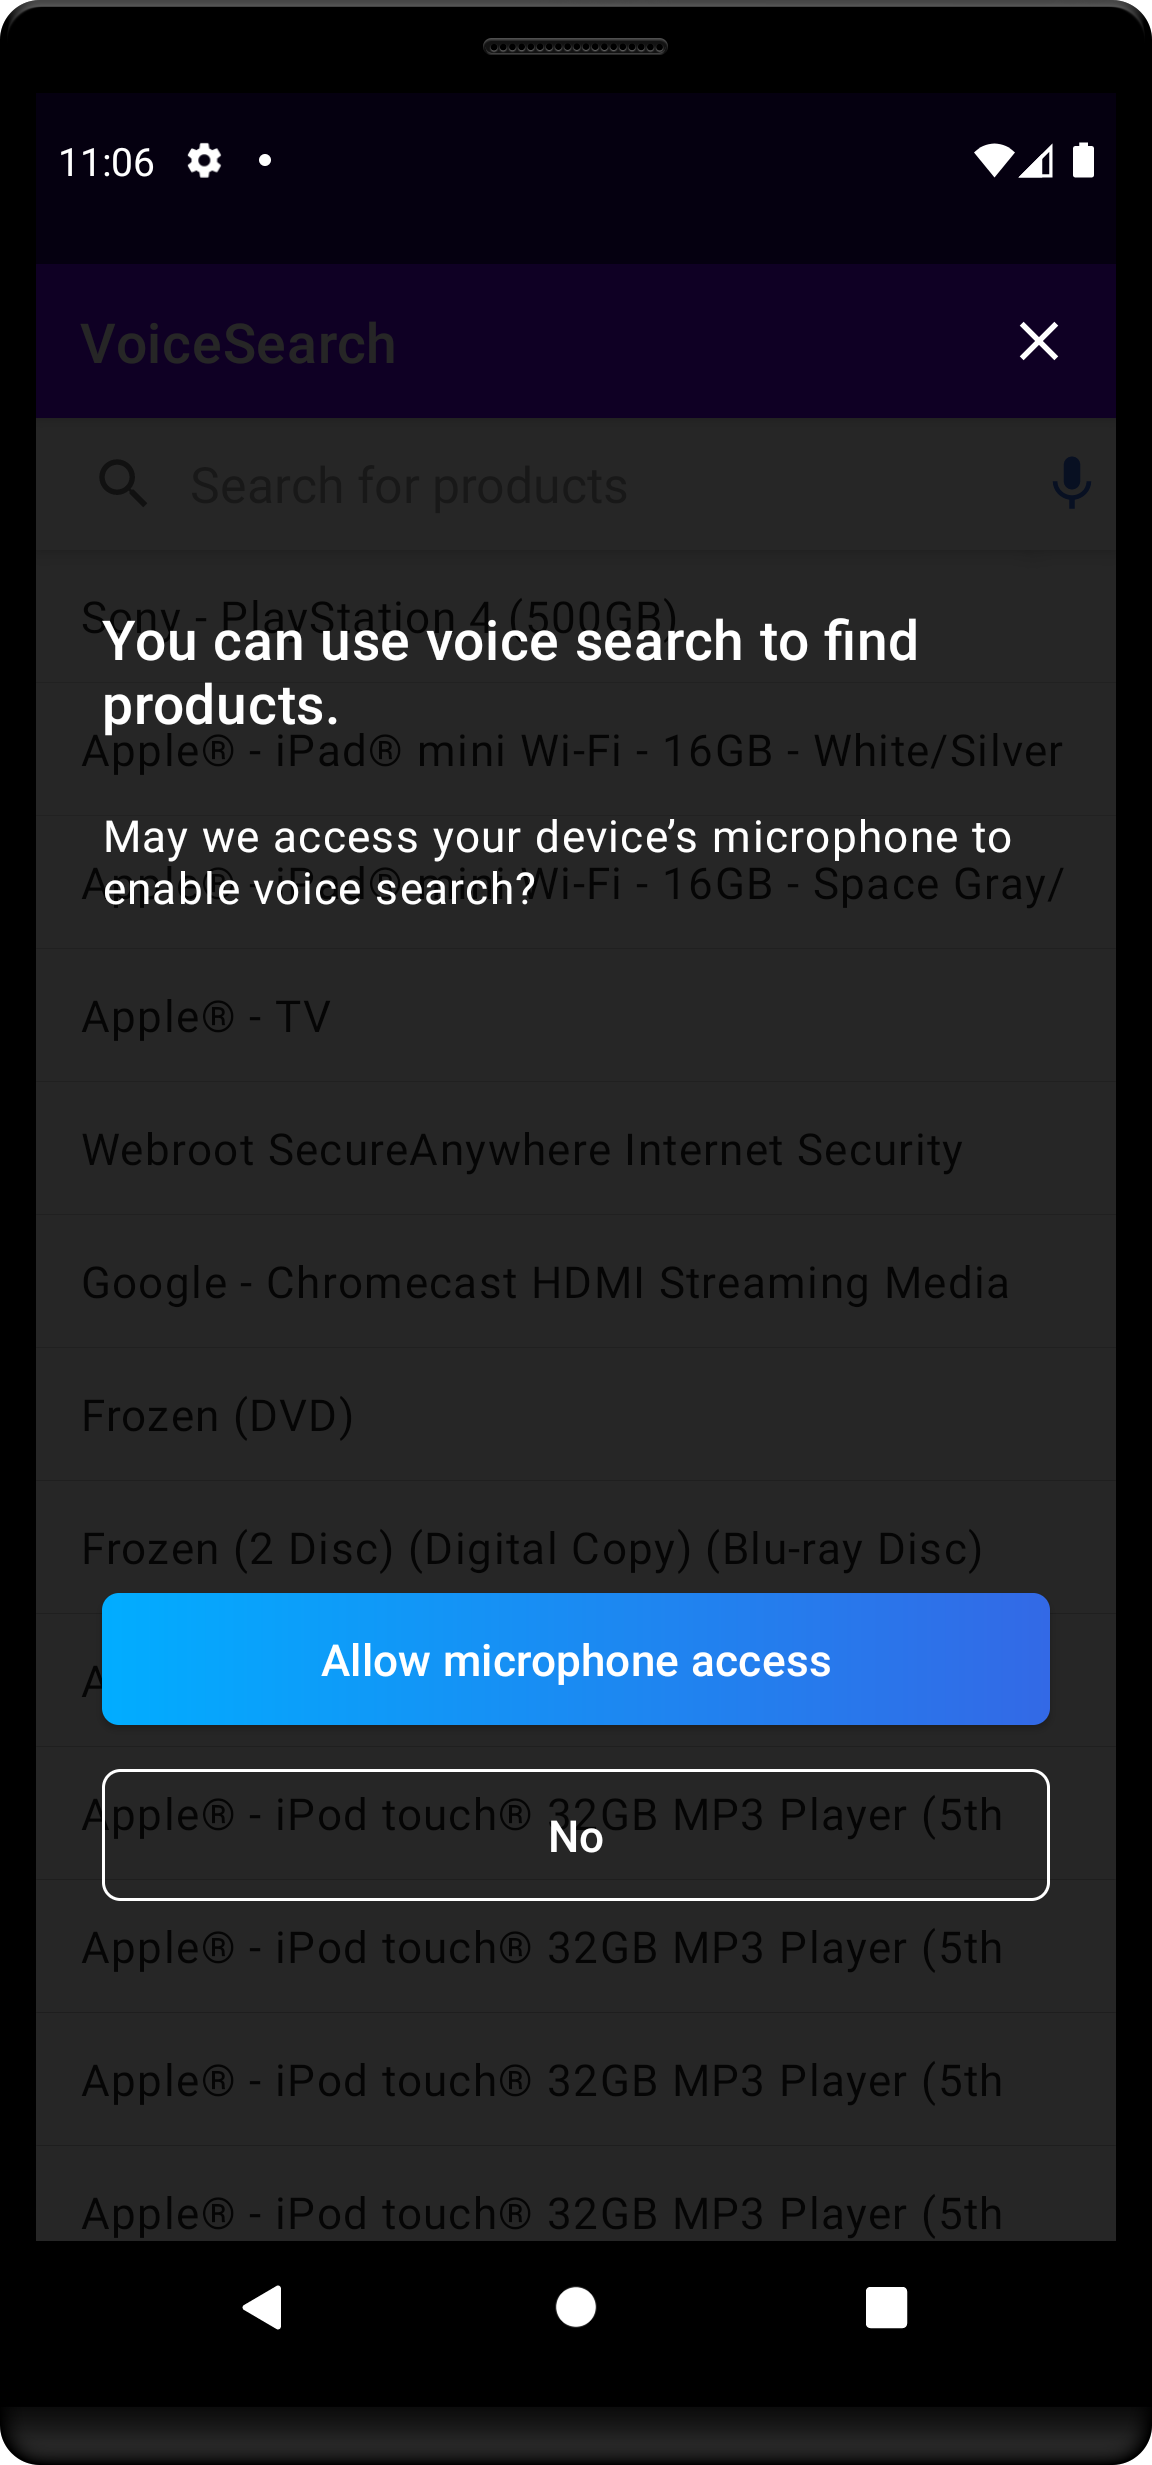
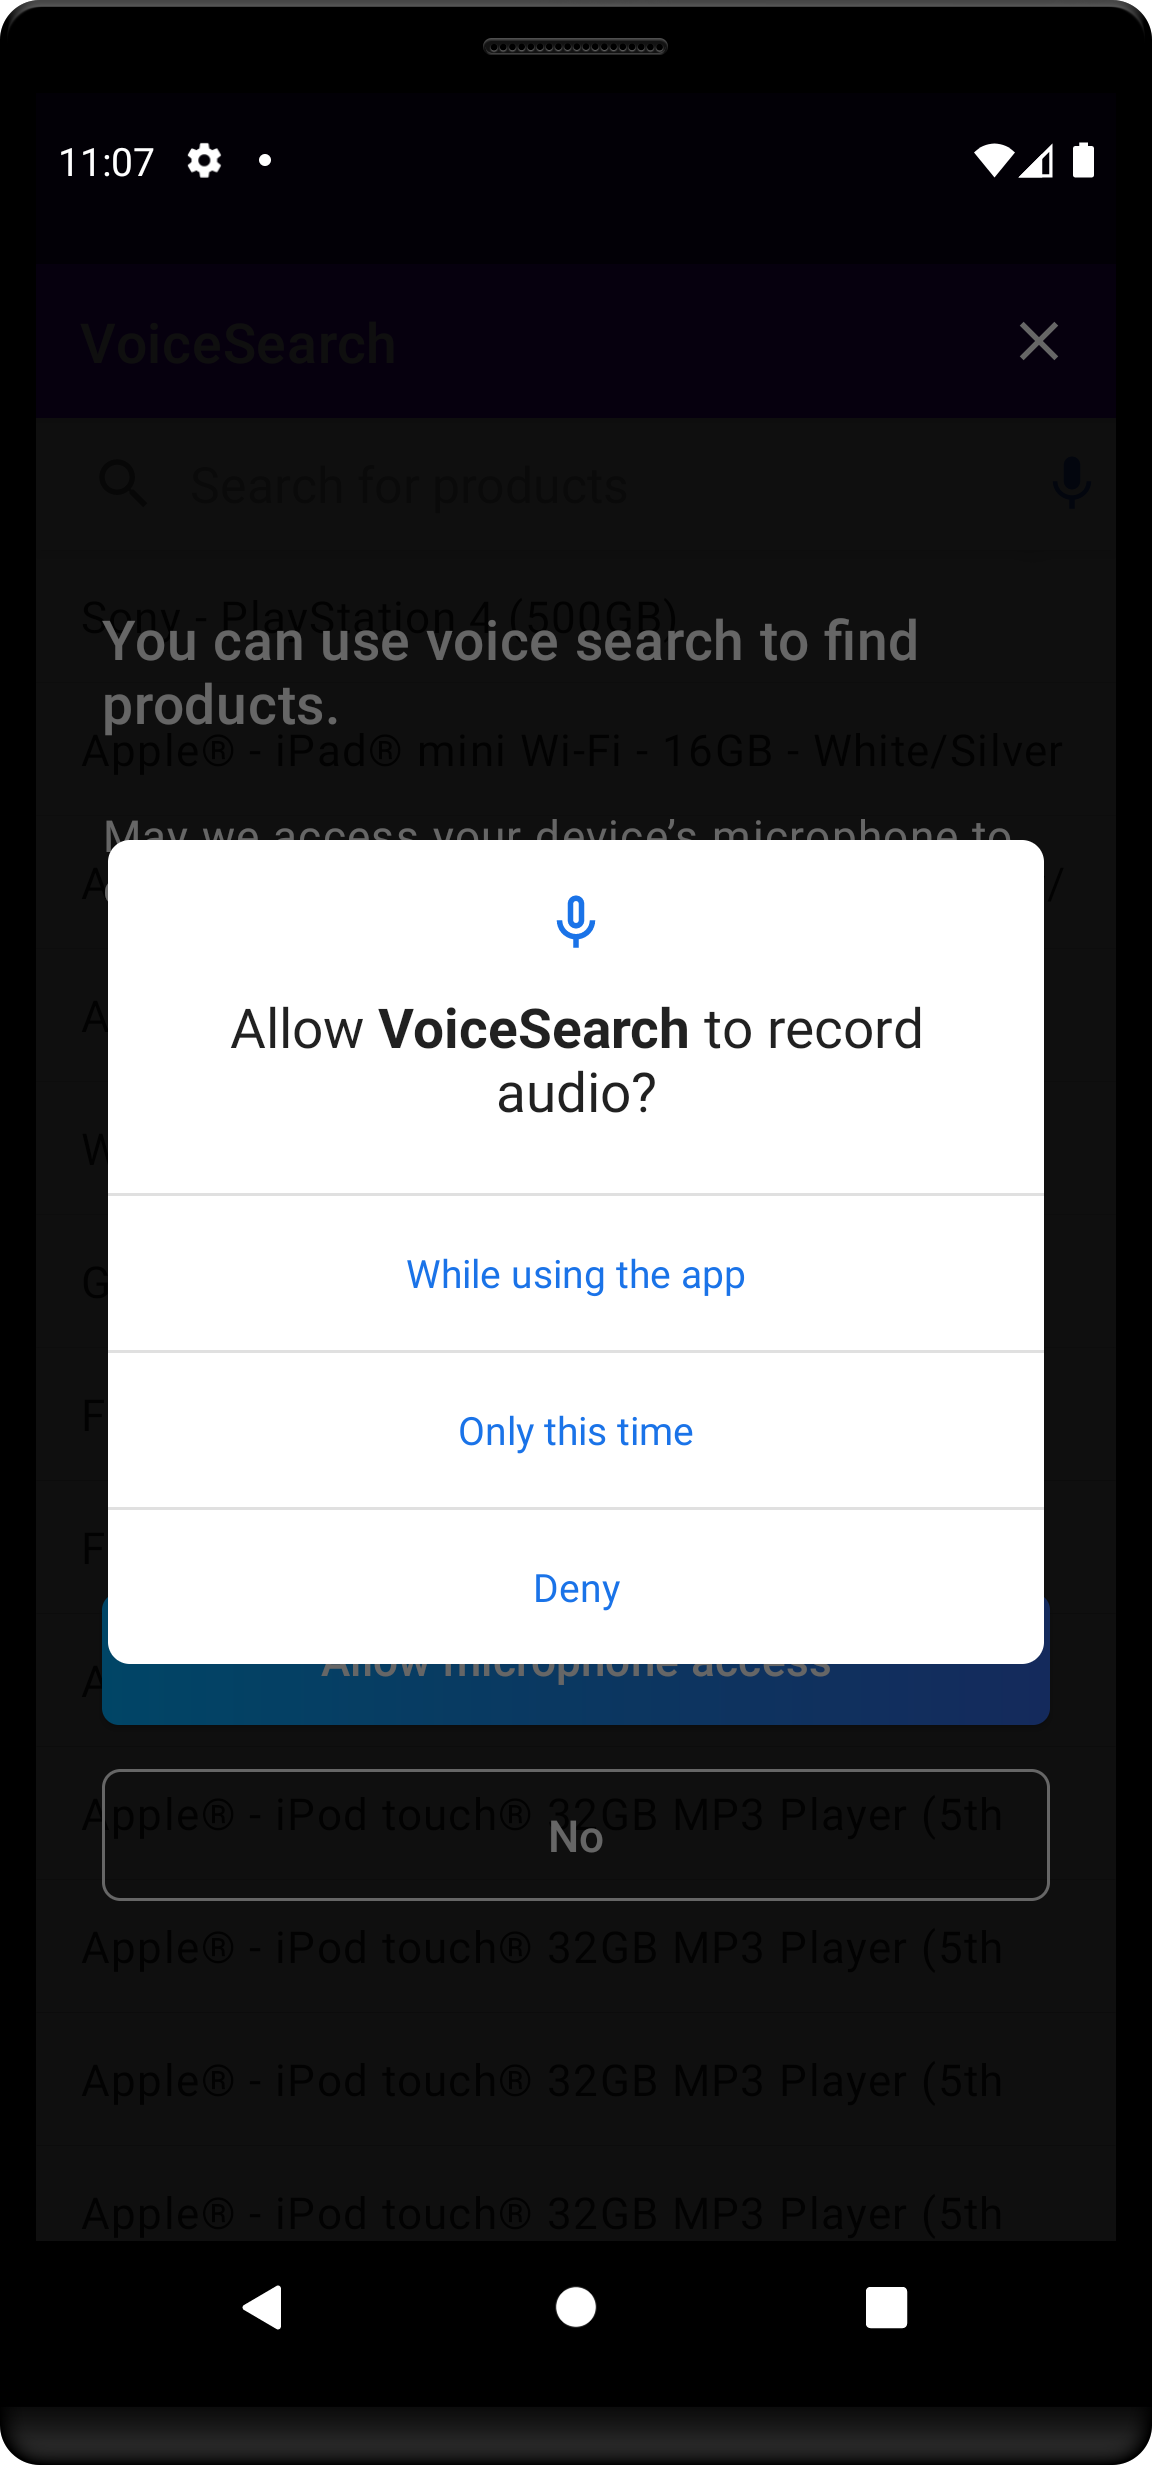
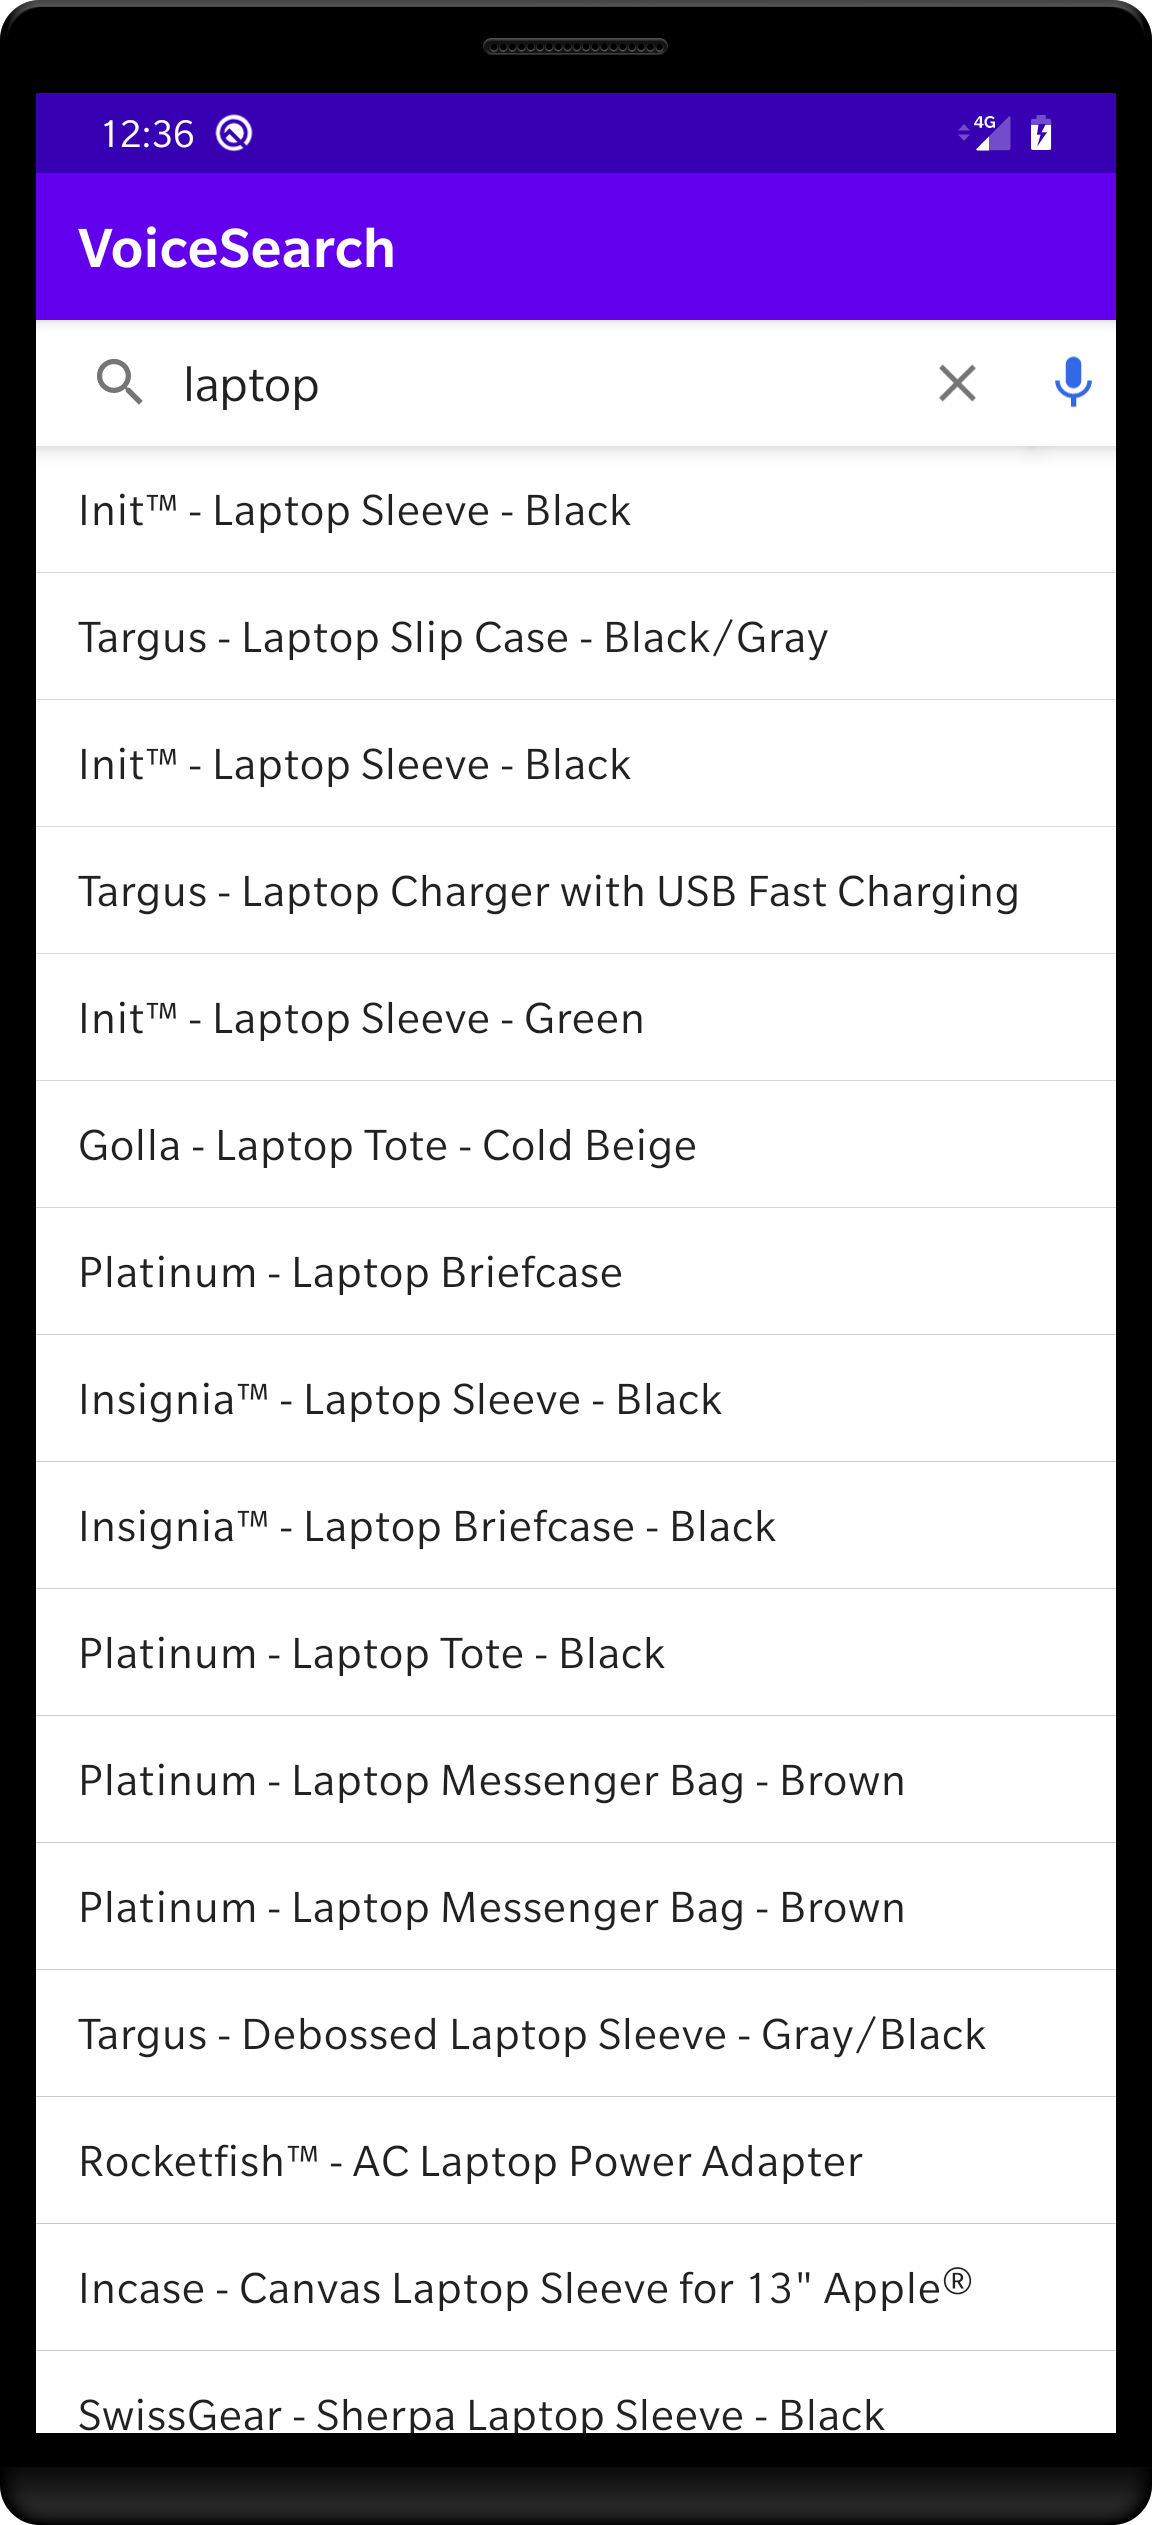
Once you give all the authorizations, the voice input interface appears. Try to say something and get the instant search results.
You can find a complete VoiceOverlay implementation on the git repository.
Conclusion
With Algolia’s libraries, you can build a voice search experience in less than a hundred lines of code.
You can customize your search experience and make it unique by modifying InstantSearch components, as well as the VoiceOverlay components.
If you use Algolia Answers in your application, the VoiceOverlay is a good start for a conversational search experience in your application.

